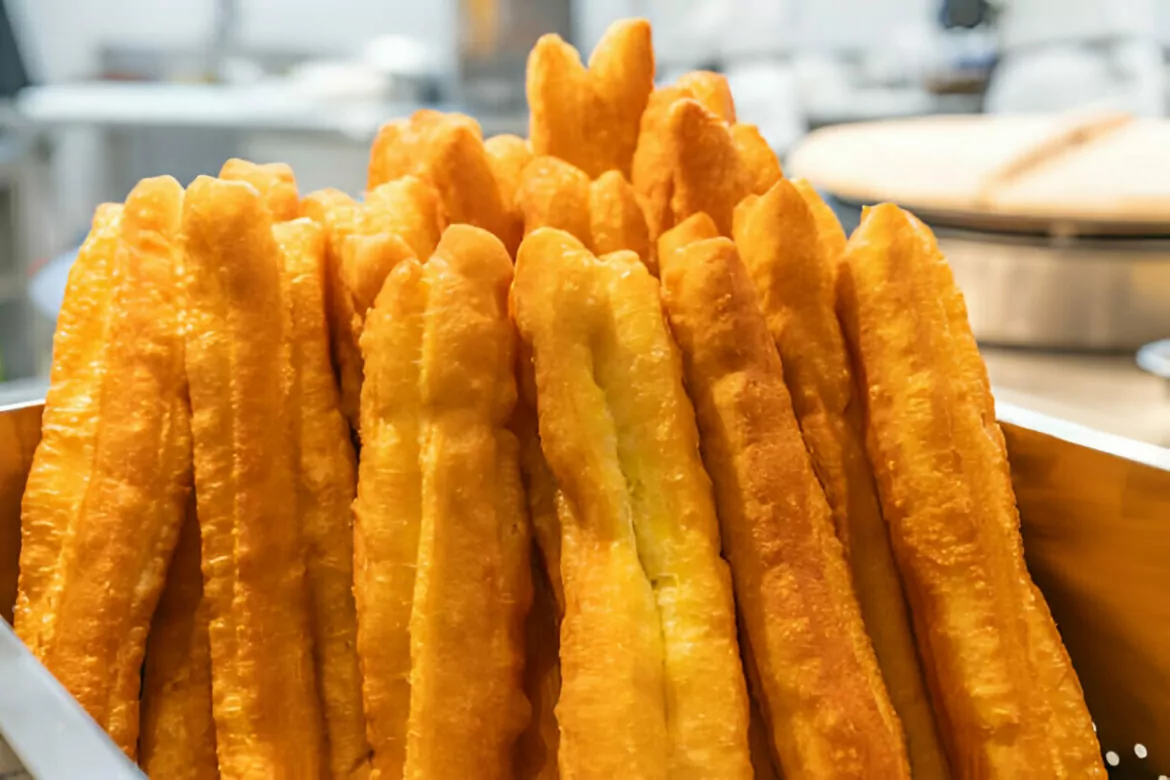
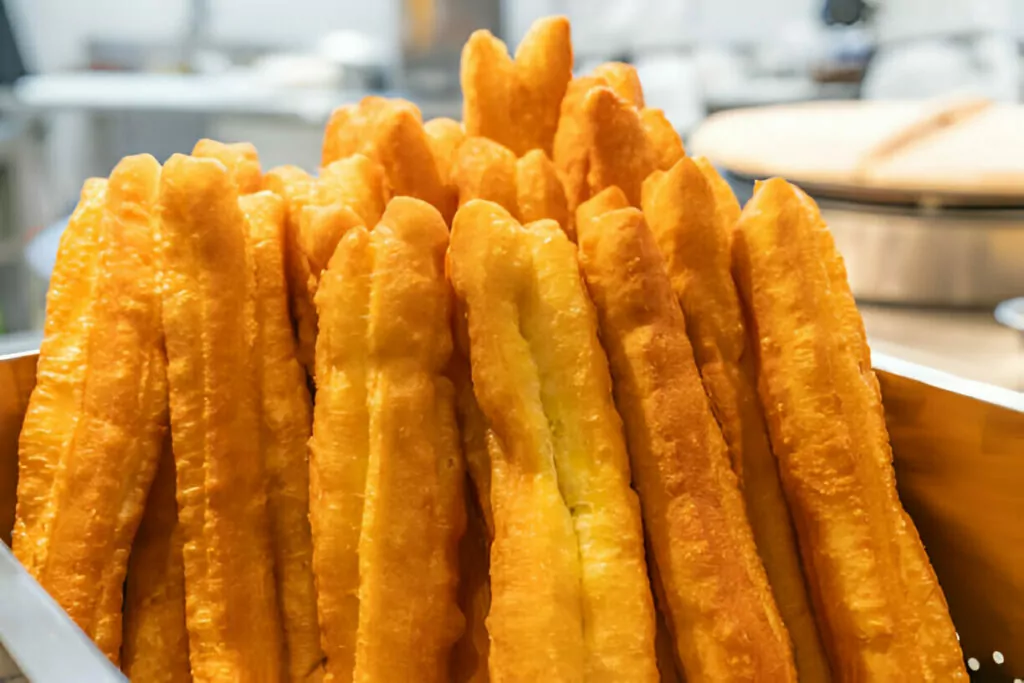
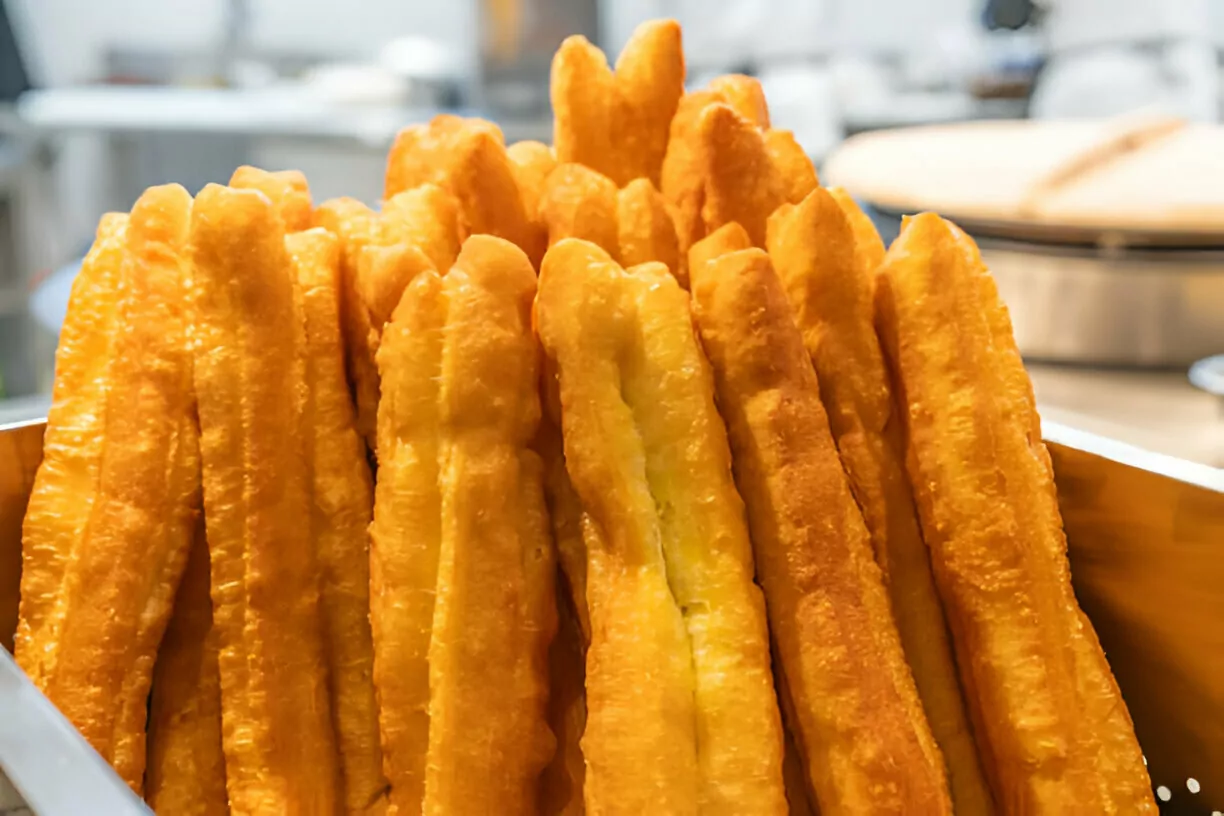
Golden, crisp, and wonderfully airy, youtiao is a beloved deep-fried treat enjoyed across many Asian cultures. With its delicate crunch on the outside and a pillowy, slightly chewy interior, this Chinese-style cruller is a breakfast staple often paired with a warm bowl of congee or a glass of sweet soy milk. Though traditionally served in the morning, its versatility allows it to complement both savory and sweet flavors, making it a delightful snack at any time of day.
Ingredient Breakdown
Crafting the perfect youtiao begins with a well-balanced selection of ingredients, each playing a crucial role in achieving its signature texture. All-purpose flour forms the base, providing the necessary structure, while baking powder acts as the leavening agent, creating the airy, hollow center that makes youtiao so light. A combination of egg and softened butter enhances the richness, adding subtle depth and tenderness to the dough. The liquid elements, milk and water, work together to ensure the right consistency—supple and smooth yet not overly sticky. The amount of water required varies depending on the humidity, so careful adjustments are key. Lastly, frying oil is essential for achieving that irresistible golden crispness. A neutral oil with a high smoke point, such as peanut or vegetable oil, ensures even frying without overpowering the delicate flavor of the dough.
Step-by-Step Preparation Guide
Mixing the Dough
Achieving the perfect youtiao dough requires precision and patience. An electric mixer with a dough hook attachment simplifies the process, ensuring even incorporation of ingredients. The flour, baking powder, salt, egg, softened butter, and milk are combined at a low speed to create a rough mixture. Water is added gradually in small increments to prevent the dough from becoming too wet or sticky. The key is to knead until a soft, elastic consistency forms—tacky to the touch but not clinging to the sides of the bowl. For those without a mixer, hand-kneading is an option, though it requires extra effort to achieve the same smooth, pliable texture.
Resting and Refrigeration
Allowing the dough to rest is a crucial step that enhances its elasticity, making it easier to handle and shape. After an initial 30-minute rest at room temperature, the dough is carefully wrapped in plastic and refrigerated overnight. This slow, cold fermentation process helps develop a lighter, airier texture once fried. When ready to use, the dough must return to room temperature before frying—this can take one to three hours, depending on the ambient temperature. If the dough remains too cold, it will not expand properly in the oil, resulting in dense, heavy crullers.
Shaping and Cutting
Proper shaping ensures that youtiao fry up with their iconic puffed, twisted structure. The rested dough is gently transferred onto a lightly floured surface and carefully unwrapped to avoid deflation. Flattened into a uniform rectangle about 4 inches wide and ¼ inch thick, it is then sliced into 1-inch-wide strips. To create the signature layered look, two strips are stacked atop each other before a chopstick is pressed down the center, binding them together. This indentation helps guide the dough’s expansion during frying, ensuring an even rise. Each piece is then gently stretched to approximately 9 inches, preparing it for the hot oil.
Frying to Perfection
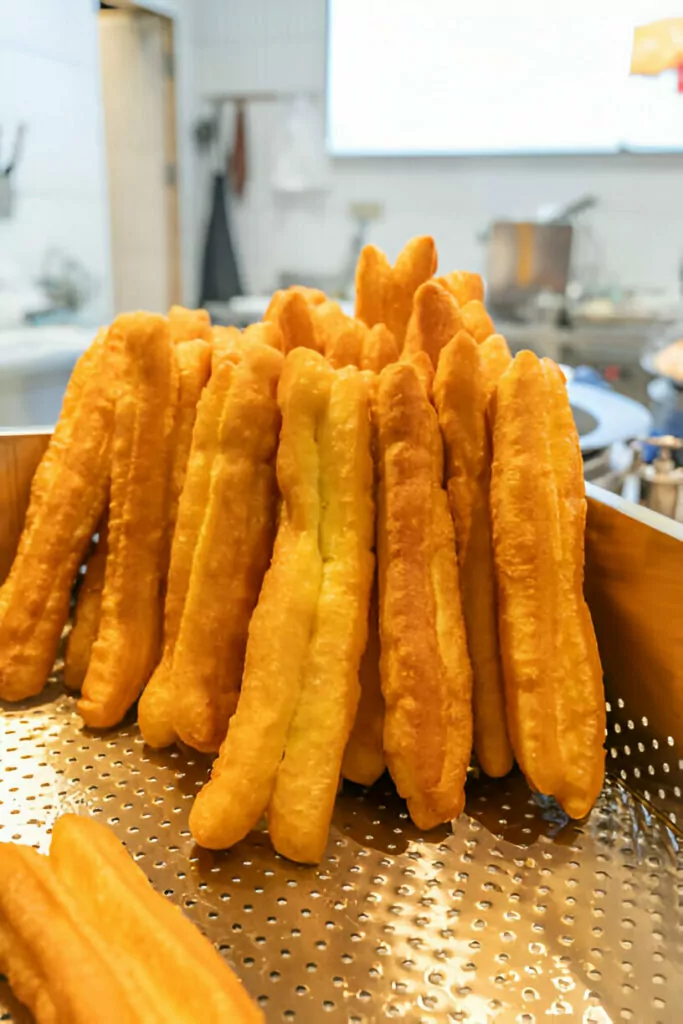
Achieving a light, crisp exterior while maintaining a chewy interior requires precise frying techniques. The oil should be heated gradually to a temperature range of 400-425°F (205-220°C). If the oil is too cool, the dough will absorb excess grease, resulting in a heavy texture. If too hot, the outside will brown too quickly before the inside fully puffs. Once the dough is submerged, it should immediately float to the surface, a sign that the temperature is correct. Using long chopsticks or tongs, the dough must be continuously rolled in the oil for about a minute to ensure even cooking. Frying one to two pieces at a time allows for proper attention to each cruller, preventing them from overcooking. Once they reach a light golden brown, they are promptly removed and drained on a paper towel-lined surface to absorb any excess oil.
Recipe Tips & Frequently Asked Questions
Ensuring the dough is soft but not sticky:
Proper hydration is key. The dough should be supple and slightly tacky, but if it sticks excessively to your hands or work surface, lightly dust it with flour.
How to test if the oil is at the right temperature without a thermometer:
Drop a small piece of dough into the oil. If it immediately rises and begins to sizzle without burning, the oil is ready.
Adjusting frying time for different levels of crispiness:
A shorter fry time results in a chewier texture, while a slightly longer fry time makes them extra crisp.
Storing leftovers and the best way to reheat them:
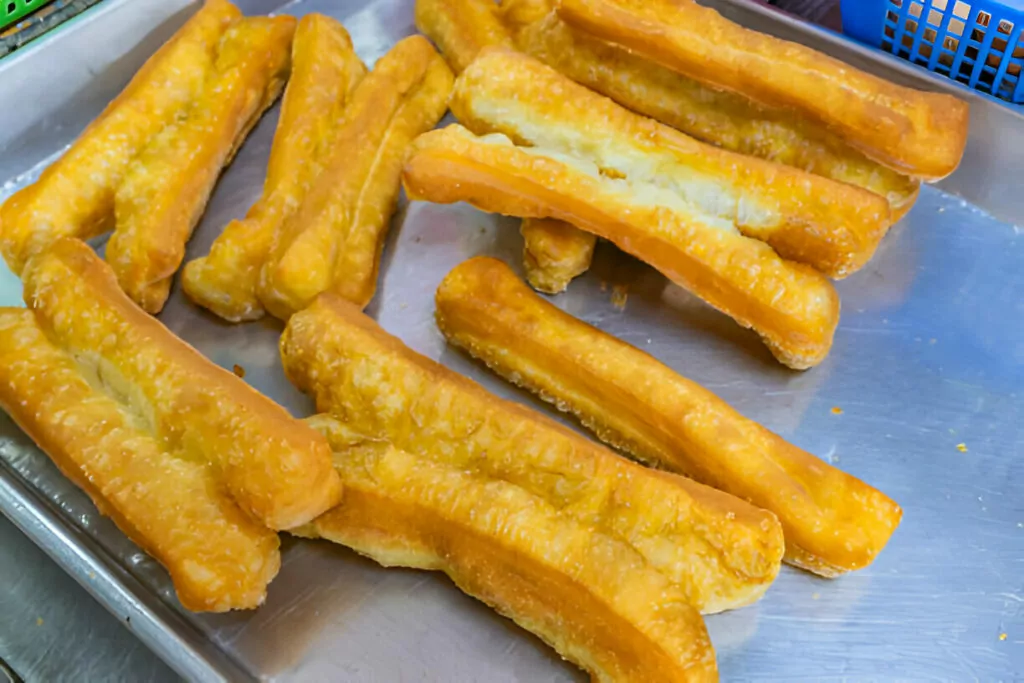
Youtiao are best enjoyed fresh, but leftovers can be stored in an airtight container at room temperature for up to a day. To reheat, place them in a hot oven for a few minutes or briefly air-fry to restore their crispness.
Can I make youtiao without a mixer?
Hand-kneading is possible but requires extra effort to achieve the right consistency. A longer kneading time helps develop the dough’s elasticity.
Why did my youtiao turn out too dense?
The dough may have been too cold when fried, or the oil temperature may have been too low, preventing proper expansion.
Can I prepare the dough in advance?
Yes, the dough can be refrigerated overnight or frozen for later use. Thaw and allow it to reach room temperature before frying.
Is it possible to bake youtiao instead of frying?
While traditional youtiao must be deep-fried for the classic texture, a baked version can be attempted, though it will lack the signature crispiness.
What to Serve With This Recipe
Pairing youtiao with complementary flavors enhances its enjoyment, whether as a savory breakfast or a sweet snack.
Traditional Pairings: A classic accompaniment to a warm bowl of congee, youtiao provides the perfect contrast to the creamy rice porridge. It is also commonly enjoyed with hot soy milk, where the crullers are dipped to absorb the lightly sweet, nutty flavor.
Dipping Sauces: For a savory touch, serve with a side of soy sauce infused with chili oil, scallions, and garlic. For a sweet variation, condensed milk or a drizzle of honey offers a delicious contrast.
Creative Serving Ideas: Beyond its traditional uses, youtiao can be repurposed in inventive ways. It can be split open and used as a sandwich base, filled with meats or vegetables. It also pairs well with soups and stews, soaking up flavorful broths.
Mastering youtiao requires patience, but the reward is an irresistibly crisp and airy cruller that can be enjoyed in a variety of ways. By following the key techniques—allowing proper resting time, shaping with precision, and frying at the ideal temperature—you can achieve a texture that is both light and satisfying. Whether enjoyed with a savory breakfast, a sweet dip, or an innovative twist, these golden crullers are sure to become a favorite.
Ingredients
Oil (for frying)
2 cups all-purpose flour
1½ teaspoons baking powder
½ teaspoon salt
1 egg
2 tablespoons unsalted butter, softened (not melted)
1 tablespoon milk
About ⅓ cup water (adjust based on kitchen humidity; the dough should be soft but not sticky)
Instructions
Attach the dough hook to your electric mixer and set it to the lowest speed. Combine the flour, baking powder, salt, egg, softened butter, and milk in the mixing bowl. Gradually add the water in small increments while keeping the speed on low. The precise amount of water may vary, so add just enough for the dough to become soft yet manageable, ensuring it doesn’t adhere to the bowl’s sides.
Let the mixer knead the dough for 15 minutes. The dough should feel slightly tacky but remain cohesive. Cover and allow it to rest for 30 minutes. If kneading by hand, extend the kneading time by an additional 5 to 10 minutes.
Lightly flour a clean surface and shape the dough into a uniform, flat rectangle, approximately 4 inches wide and ¼ inch thick. Carefully place the dough onto a large sheet of plastic wrap, ensuring it is completely covered. Secure the ends of the wrap underneath the dough, then set it on a baking sheet or flat plate. Refrigerate overnight.
The next morning, remove the dough from the refrigerator and let it rest at room temperature, still wrapped, for at least 1 to 3 hours. The dough must return to a very soft consistency before frying. This process may take longer in colder environments, so be patient—this step is crucial for achieving the right texture.
Prepare a wok or deep pan for frying, ensuring it is large enough to accommodate long crullers. Pour in enough oil to create sufficient depth, then gradually heat it over medium heat until it reaches 400-425°F (205-220°C).
Meanwhile, unwrap the dough and gently invert it onto a lightly floured surface. Carefully peel away the plastic wrap and dust the top with a small amount of flour. Slice the dough into 1-inch-wide strips, aiming for an even number. Stack two strips together and press firmly down the center with a chopstick to bind them. Holding both ends, stretch the dough until it reaches about 9 inches in length.
Once the oil has reached the correct temperature, carefully lower a stretched piece of dough into the hot oil. If the temperature is ideal, the dough should immediately rise to the surface. Using long cooking tools such as chopsticks or tongs, continuously roll the dough in the oil for about a minute to ensure even frying.
Fry one or two pieces at a time, ensuring each cruller is consistently rotated. When they achieve a light golden brown hue, remove them from the oil. Avoid overcooking, as they should remain chewy rather than overly crisp.
Repeat with the remaining dough. For efficiency, consider having one person prepare and stretch the dough while another manages the frying process.
Youtiao Recipe
Ingredients
- Oil for frying
- 2 cups all-purpose flour
- 1½ teaspoons baking powder
- ½ teaspoon salt
- 1 egg
- 2 tablespoons unsalted butter softened (not melted)
- 1 tablespoon milk
- About ⅓ cup water adjust based on kitchen humidity; the dough should be soft but not sticky
Instructions
- Attach the dough hook to your electric mixer and set it to the lowest speed. Combine the flour, baking powder, salt, egg, softened butter, and milk in the mixing bowl. Gradually add the water in small increments while keeping the speed on low. The precise amount of water may vary, so add just enough for the dough to become soft yet manageable, ensuring it doesn’t adhere to the bowl’s sides.
- Let the mixer knead the dough for 15 minutes. The dough should feel slightly tacky but remain cohesive. Cover and allow it to rest for 30 minutes. If kneading by hand, extend the kneading time by an additional 5 to 10 minutes.
- Lightly flour a clean surface and shape the dough into a uniform, flat rectangle, approximately 4 inches wide and ¼ inch thick. Carefully place the dough onto a large sheet of plastic wrap, ensuring it is completely covered. Secure the ends of the wrap underneath the dough, then set it on a baking sheet or flat plate. Refrigerate overnight.
- The next morning, remove the dough from the refrigerator and let it rest at room temperature, still wrapped, for at least 1 to 3 hours. The dough must return to a very soft consistency before frying. This process may take longer in colder environments, so be patient—this step is crucial for achieving the right texture.
- Prepare a wok or deep pan for frying, ensuring it is large enough to accommodate long crullers. Pour in enough oil to create sufficient depth, then gradually heat it over medium heat until it reaches 400-425°F (205-220°C).
- Meanwhile, unwrap the dough and gently invert it onto a lightly floured surface. Carefully peel away the plastic wrap and dust the top with a small amount of flour. Slice the dough into 1-inch-wide strips, aiming for an even number. Stack two strips together and press firmly down the center with a chopstick to bind them. Holding both ends, stretch the dough until it reaches about 9 inches in length.
- Once the oil has reached the correct temperature, carefully lower a stretched piece of dough into the hot oil. If the temperature is ideal, the dough should immediately rise to the surface. Using long cooking tools such as chopsticks or tongs, continuously roll the dough in the oil for about a minute to ensure even frying.
- Fry one or two pieces at a time, ensuring each cruller is consistently rotated. When they achieve a light golden brown hue, remove them from the oil. Avoid overcooking, as they should remain chewy rather than overly crisp.
- Repeat with the remaining dough. For efficiency, consider having one person prepare and stretch the dough while another manages the frying process.

