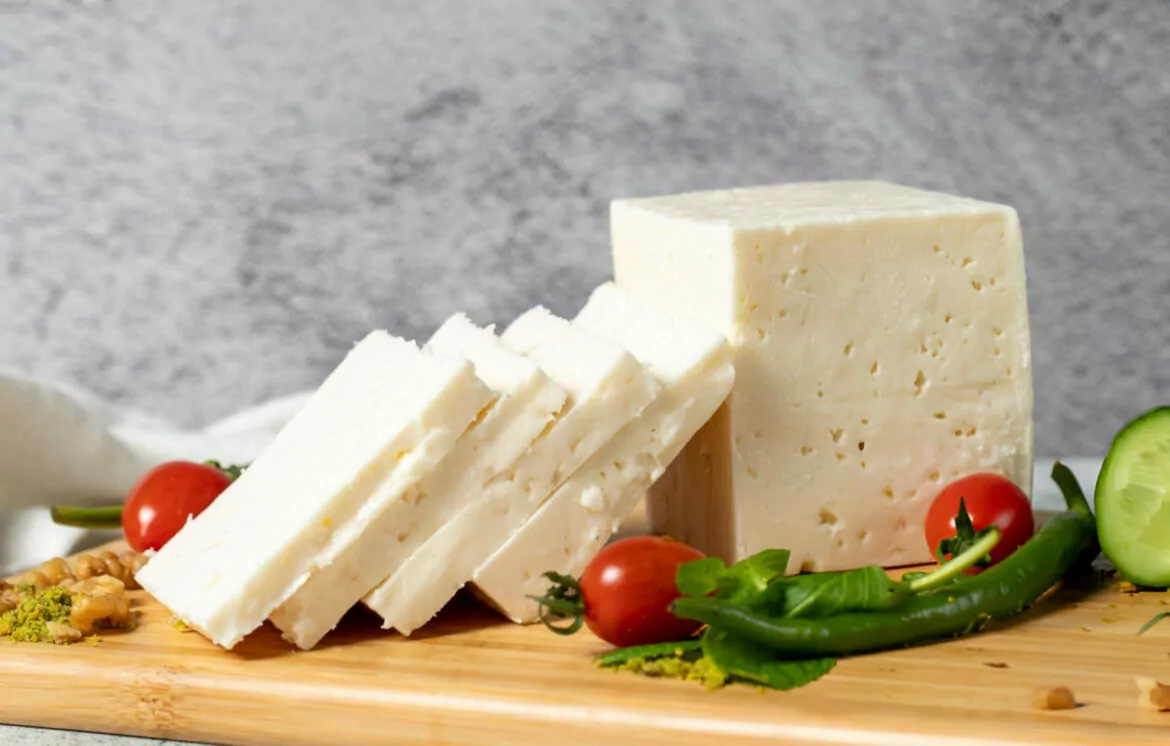
Making feta cheese at home is a deeply rewarding experience that not only connects you to centuries-old culinary traditions but also allows you to enjoy the pure, authentic taste of fresh cheese. Unlike store-bought varieties, homemade feta carries a richer texture and flavor that can be adjusted to your preference. The process requires just a few key ingredients—whole cow or goat milk, mesophilic starter culture, rennet, and calcium chloride—to turn y our kitchen into a mini cheesemaking workshop. By mastering the technique, you’ll create cheese that is not only delicious but also a testament to the art of slow, intentional cooking.
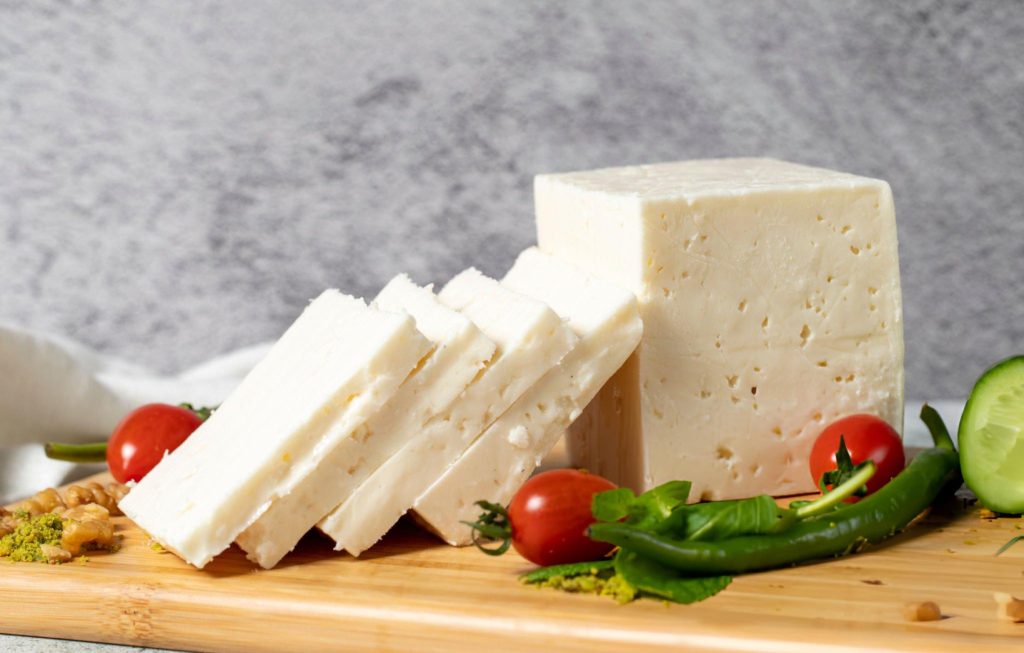
Ingredients for Homemade Feta Cheese
The ingredients for homemade feta are simple yet essential to achieving the right balance of flavor and texture. Starting with high-quality whole cow or goat milk is crucial. Non-ultra-pasteurized milk ensures that the natural bacteria required for cheesemaking are present, giving the cheese its distinctive tang. The mesophilic starter culture jump-starts the fermentation process, while calcium chloride helps firm the curds, making them easier to handle. Rennet, either in liquid or tablet form, is what coagulates the milk, turning it from a liquid to a semi-solid curd. Lastly, non-iodized salt is a must, as iodized salt can inhibit proper fermentation and affect the cheese’s final taste. These elements work harmoniously to craft the perfect feta.
Step-by-Step Guide to Making Feta Cheese
The process of making feta begins with gently heating the milk to 86°F. This gradual heating method, often using a double boiler technique, is critical to maintaining the integrity of the milk. Rushing this stage could result in curds that are too soft or break apart during the cutting process.
Once the milk reaches the proper temperature, the mesophilic starter culture is stirred in. Maintaining this temperature for an hour allows the culture to work its magic, slowly acidifying the milk. After an hour, calcium chloride is added to assist in the firming process, followed by rennet, which plays the key role in forming curds. Stirring the rennet gently ensures it evenly spreads throughout the milk, setting the stage for curd formation.
At this point, patience is required. Let the mixture sit undisturbed for about 30 minutes, checking for the “clean break”—a moment when the curd, if gently prodded, splits cleanly like firm yogurt. This signals that it’s time to cut the curd into 1-inch cubes. Cutting correctly is essential; these curds will eventually become your cheese, and cutting them too small or too large will affect the final texture.
After cutting, the curds need to be stirred gently while the temperature is slowly raised to 95°F over an hour. The curds will shrink as they expel whey, which is the liquid byproduct of this process. Draining the whey and curds through butter muslin allows for the initial drying and formation of feta blocks.
Once drained, the curds are pressed and cut into 3-inch blocks before being submerged in a carefully prepared brine solution. The brining process is where the feta gains much of its distinctive saltiness and preservation properties, but over-brining can lead to an overly salty cheese, so timing is crucial.
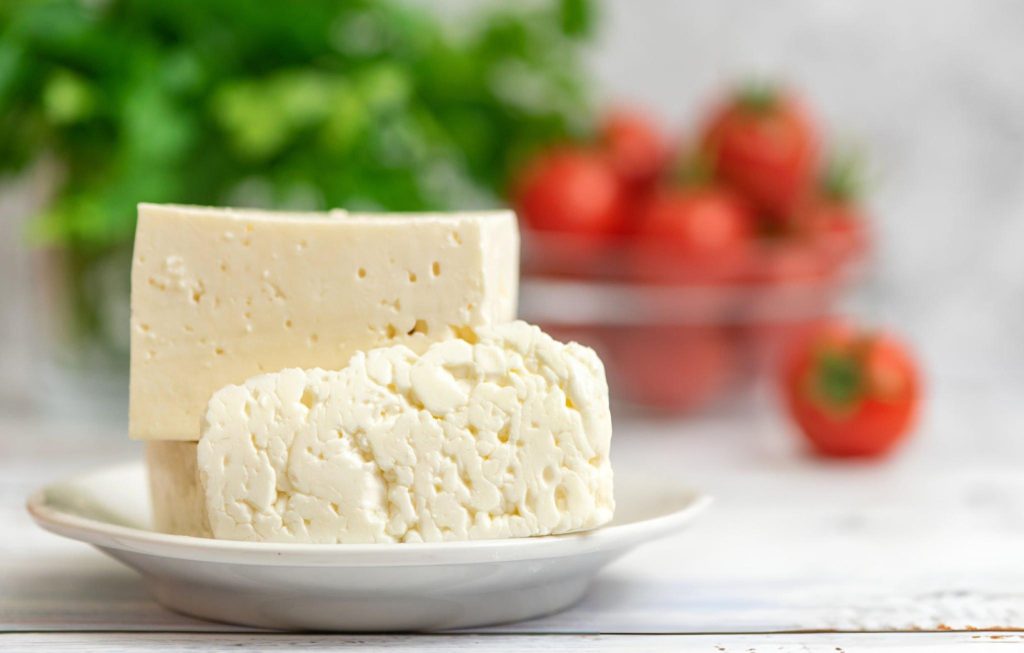
Recipe Tips
Maintaining Temperatures:
Consistent temperature control is key throughout the process. Using a thermometer to keep an eye on the milk’s temperature ensures the curds form properly.
Non-Ultra-Pasteurized Milk:
Opt for milk that isn’t ultra-pasteurized, as it retains the necessary bacteria for proper curd formation.
Overheating the Milk:
Be mindful not to exceed 106°F when raising the curd temperature, as overheating can lead to undesirable textures.
Perfecting the Clean Break:
If the curd doesn’t cleanly break after 30 minutes, give it more time to develop firmness before cutting.
What to Serve with Feta Cheese
Feta’s tangy and salty profile makes it a versatile addition to numerous dishes. It pairs beautifully with fresh salads, adding a sharp contrast to the sweetness of tomatoes, cucumbers, and leafy greens. In Mediterranean-inspired meals, feta is often served alongside olives, flatbreads, and roasted vegetables, offering a briny depth to simple plates.
For a gourmet touch, try drizzling your homemade feta with honey and fresh herbs like oregano or thyme. Pair it with seasonal fruits such as watermelon or figs for a refreshing and sophisticated appetizer. Baked feta with olive oil and chili flakes is another delightful way to elevate your cheese-making efforts, offering a warm, savory treat perfect for dipping crusty bread.
Storing and Preserving Your Homemade Feta
To maintain the freshness and flavor of your homemade feta, proper storage is essential. Once the feta has dried for one to two days after brining, it’s ready to be stored in covered containers. For optimal preservation, feta should be kept in the refrigerator or in a cool area like a cellar, where it can retain its quality for one to two weeks. If you prefer to keep your feta longer, submerging it in a fresh brine solution can help extend its shelf life without sacrificing its signature taste and texture. Ensure that the feta is always fully covered by the brine to prevent it from drying out.
Frequently Asked Questions
What type of milk works best for feta?
Both cow and goat milk can be used, though goat milk produces a slightly tangier and creamier cheese.
How do I know if my curds are the right consistency?
The curds should feel firm but not rubbery. They should separate easily from the whey and maintain their structure during stirring.
Can I use this recipe to make flavored feta?
Absolutely! You can infuse the feta with herbs or spices like rosemary, garlic, or crushed peppercorns during the brining stage.
What can I do if the cheese turns out too salty?
You can soak the feta in fresh water or milk for a couple of hours to draw out some of the saltiness.
What if I don’t have access to a mesophilic starter culture—are there substitutes?
While a mesophilic starter is ideal, you can use yogurt or buttermilk as a substitute for a mild, tangy flavor.
Making Homemade Feta
There’s nothing quite like the satisfaction of crafting your own feta cheese from scratch. Not only do you gain control over the flavor and texture, but you also tap into a deeper appreciation for traditional cheesemaking techniques. With this homemade recipe, you can experiment with different milk types, serve it in a variety of creative dishes, and even customize it with herbs and spices to suit your palate. The result is a delicious, fresh product you’ll be proud to share with friends and family—one that highlights the joy of hands-on cooking and the timeless appeal of feta cheese.
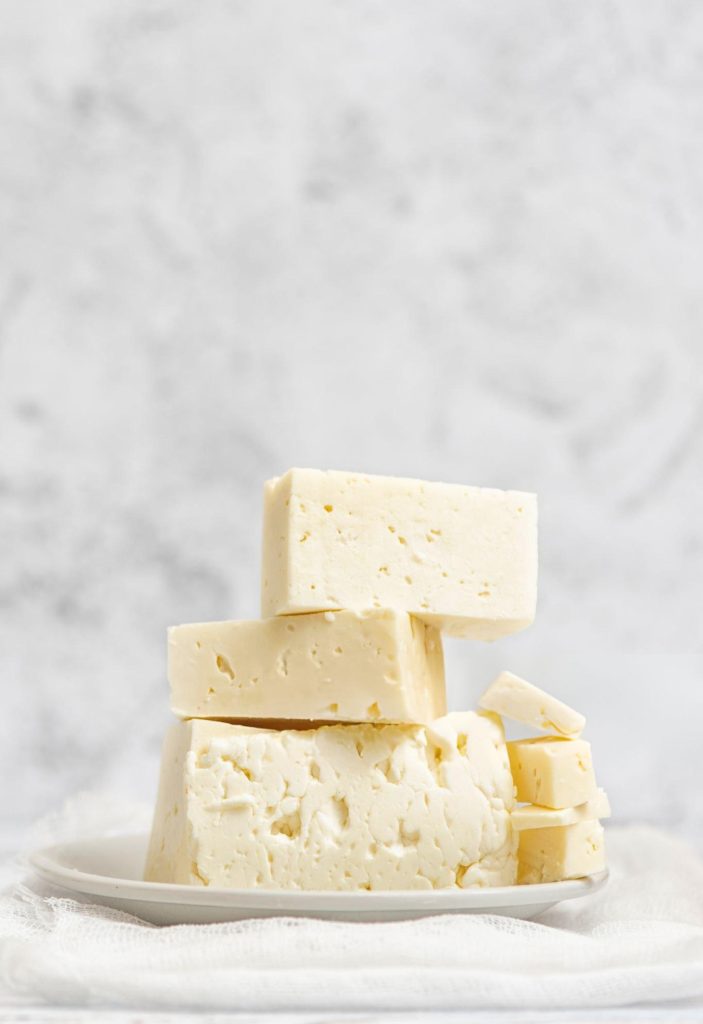
Ingredients
1/8 teaspoon mesophilic starter culture
1 gallon whole cow or goat milk (not ultra-pasteurized)
1 1/4 teaspoons calcium chloride, divided
1/2 tablet rennet (or 1/2 teaspoon liquid rennet)
1/4 cup water (for dissolving rennet tablet)
1 to 1 1/4 pounds kosher salt or non-iodized salt
2 quarts cool water
2 1/2 teaspoons vinegar (white or cider vinegar)
Instructions
Start by gathering all your necessary ingredients and equipment.
Pour the milk into a large, heavy-bottomed pot. To gently heat it, place the pot in a sink filled with hot water, ensuring the water level comes up about three-quarters of the way up the pot. Alternatively, you can position the pot inside a larger pot filled with hot water, creating a double-boiler effect to avoid direct heat. The goal is to gradually bring the milk to temperature.
Slowly heat the milk to 86°F, being careful not to rush the process.
Once the milk reaches 86°F, gently stir in the mesophilic starter culture. Maintain the milk at this temperature for one hour, removing the pot from the hot water to avoid overheating. It retains warmth fairly well but may need a gentle nudge if the temperature drops too much.
Next, stir in 1/4 teaspoon of calcium chloride, ensuring it’s evenly distributed.
If you’re using rennet tablets, crush half a tablet and dissolve it in 1/4 cup of cool water. If you’re using liquid rennet, you can skip this step and add the rennet directly to the milk. Stir the rennet into the milk gently for about a minute.
Let the milk sit undisturbed for 30 minutes, keeping the temperature steady at 86°F. You may need to return the pot to the warm water bath briefly if it cools too much.
Once the curd has formed, check for a clean break. Insert a clean finger about an inch into the curd and pull gently. If the curd separates cleanly, with a texture resembling firm yogurt, it’s ready. If not, allow it to sit for another 30 minutes.
Using a long knife, cut the curd into 1-inch cubes by slicing straight down across the curd in one direction. Then, turn the pot and repeat the process to form a grid pattern. For a final cut, slice diagonally through the curd to create roughly 1-inch chunks.
Gently stir the curds, then return the pot to the sink or the larger pot of warm water. Gradually raise the temperature to 95°F over the course of an hour. The curds will shrink slightly as they release more whey, the yellowish liquid separating from the solid curds. Be cautious not to exceed 106°F.
Line a colander with butter muslin or several layers of cheesecloth and carefully pour in the curds and whey. Bring the corners of the muslin together, tying it securely to allow for proper drainage. Let it drain for about 4 hours at room temperature.
Once drained, untie the muslin, and you’ll find that the curd mass has solidified. Cut it into rough blocks, approximately 3 inches wide, and let them drain in the muslin for another 30 minutes.
Prepare a brine solution by dissolving 1 to 1 1/4 pounds of kosher salt (or non-iodized salt) in 2 quarts of water. Add the salt gradually, stopping when no more salt dissolves in the water. Mix in 1 teaspoon of calcium chloride and 2 1/2 teaspoons of vinegar.
Remove the feta blocks from the muslin and submerge them in the brine. Let them soak for 10 to 12 hours, but avoid exceeding this time frame as it may lead to overly salty cheese.
After brining, remove the feta and allow it to air dry at room temperature for one to two days, uncovered.
Once fully dried, store the feta in covered containers. Keep it refrigerated or in a cool area like a cellar or garage. For best results, consume within one to two weeks. Enjoy your homemade feta!
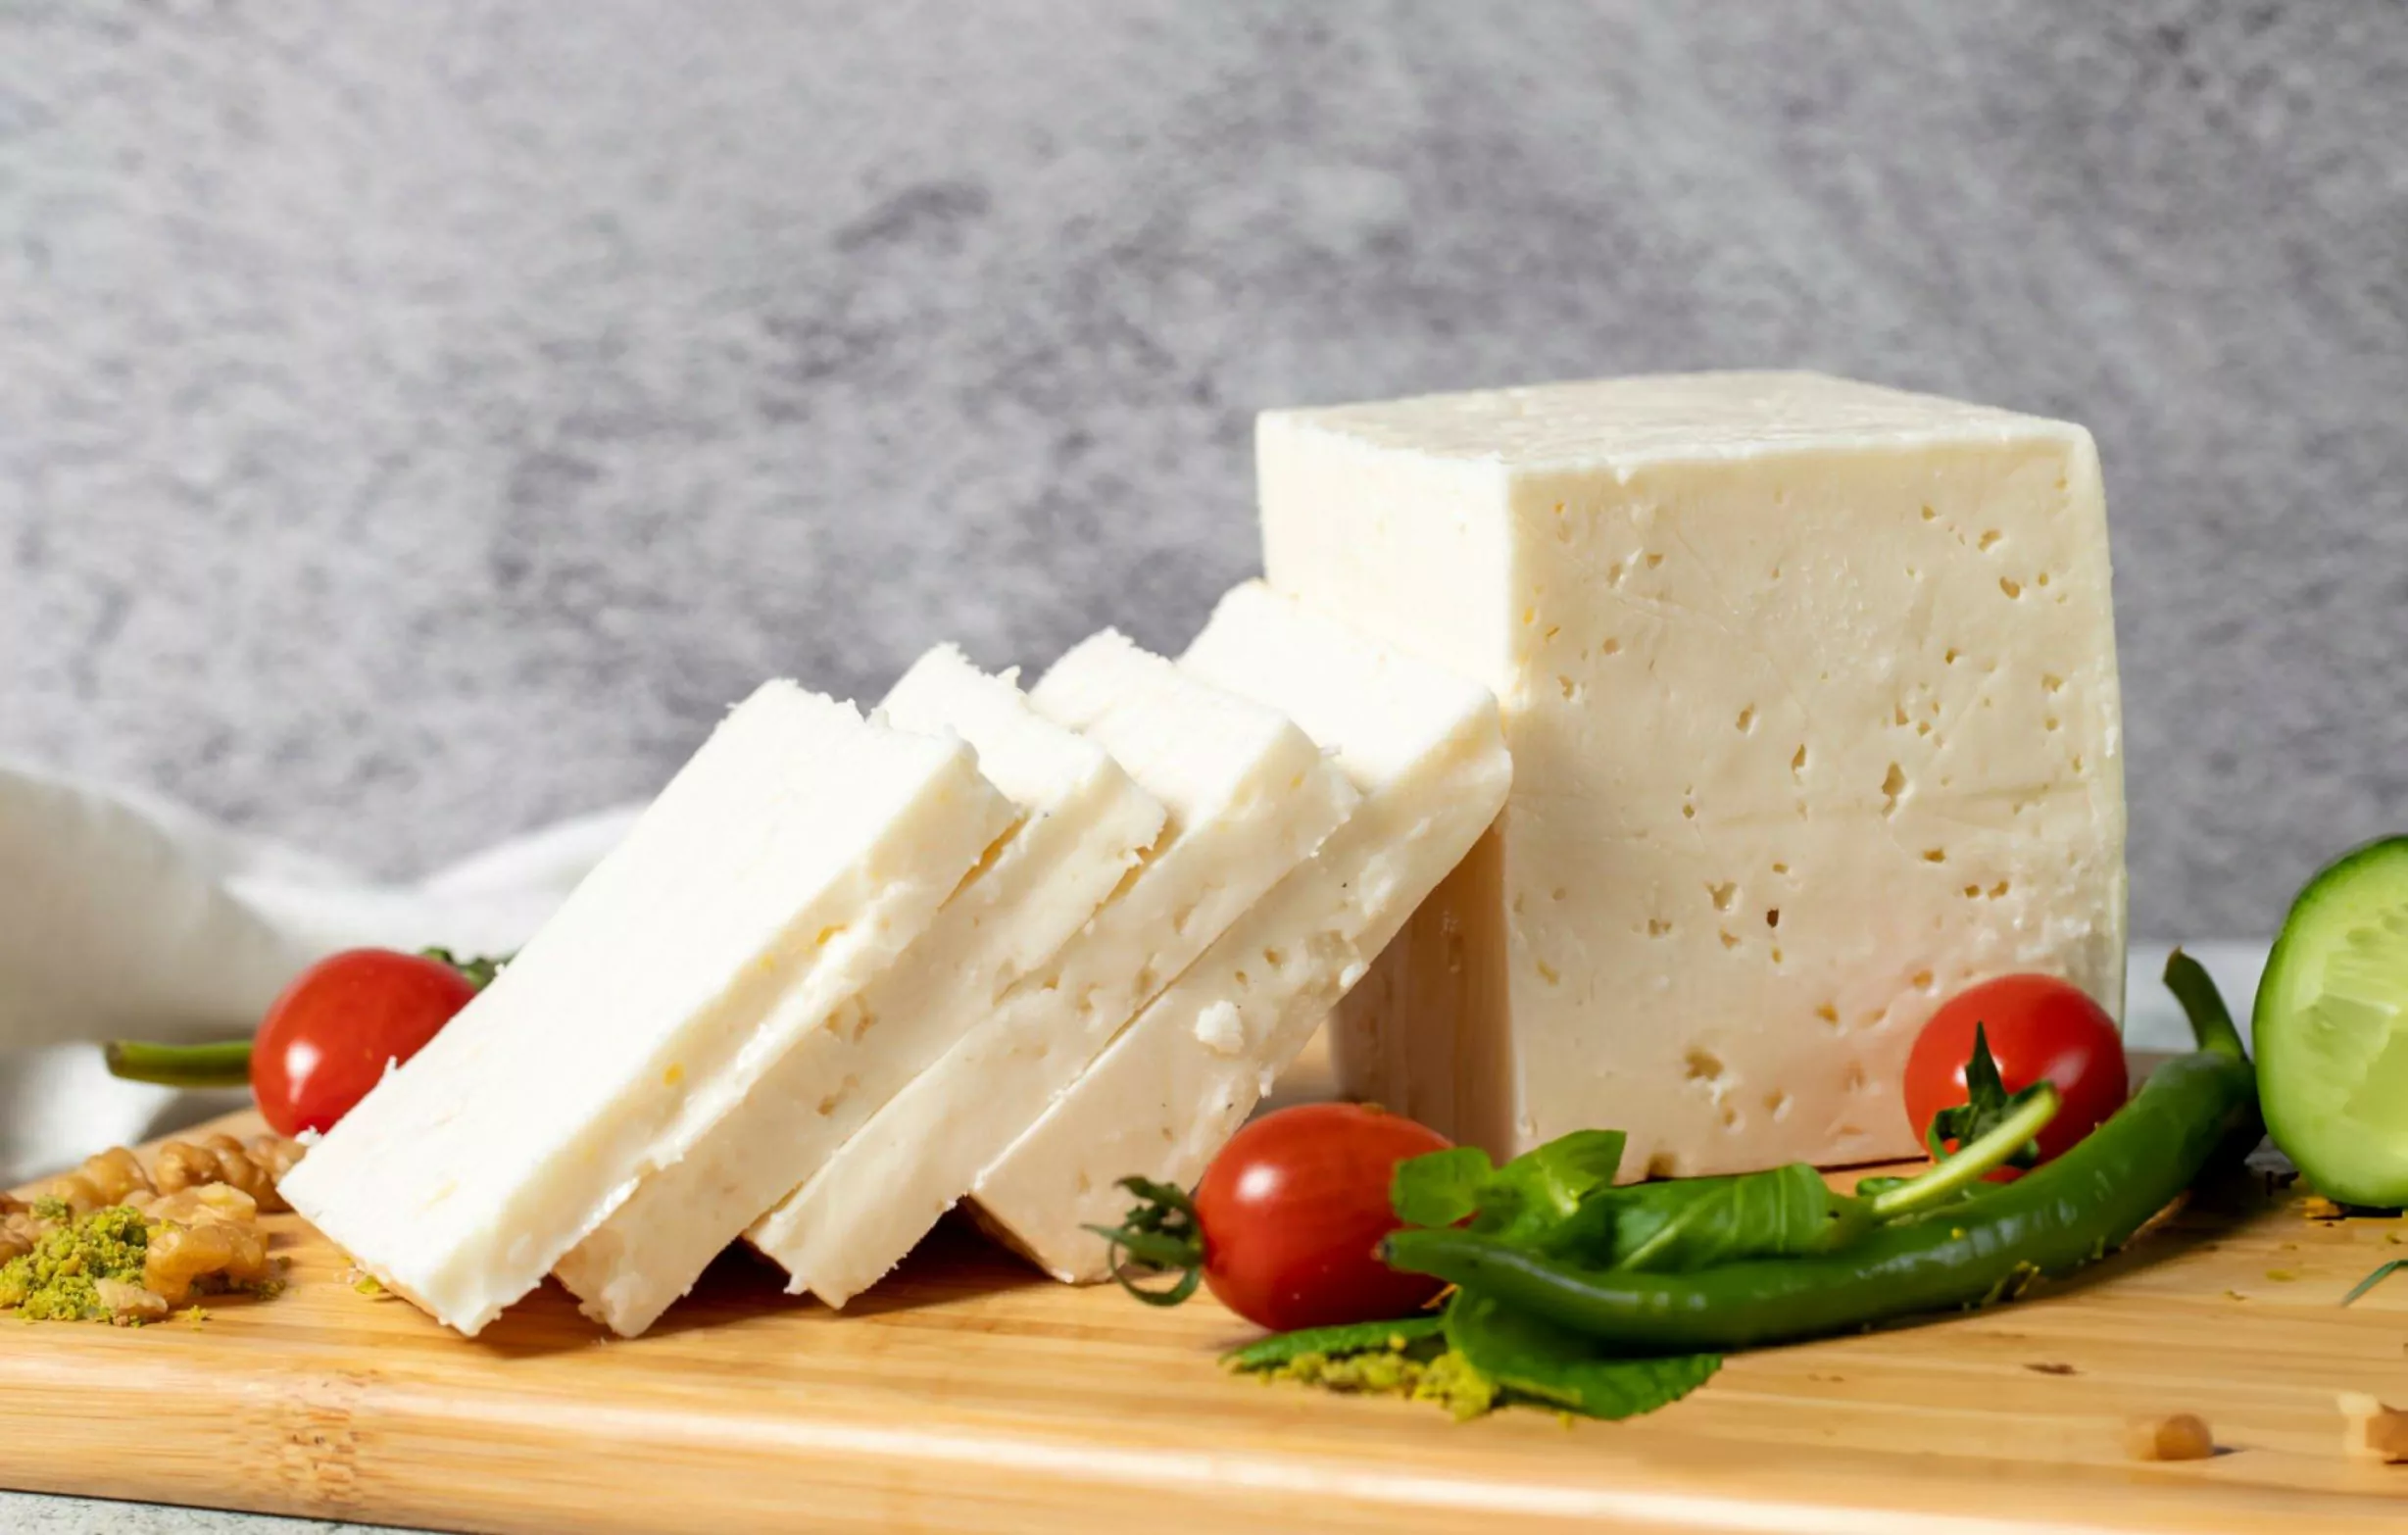
Feta Cheese Recipe
Ingredients
- 1/8 teaspoon mesophilic starter culture
- 1 gallon whole cow or goat milk not ultra-pasteurized
- 1 1/4 teaspoons calcium chloride divided
- 1/2 tablet rennet or 1/2 teaspoon liquid rennet
- 1/4 cup water for dissolving rennet tablet
- 1 to 1 1/4 pounds kosher salt or non-iodized salt
- 2 quarts cool water
- 2 1/2 teaspoons vinegar white or cider vinegar
Instructions
- Start by gathering all your necessary ingredients and equipment.
- Pour the milk into a large, heavy-bottomed pot. To gently heat it, place the pot in a sink filled with hot water, ensuring the water level comes up about three-quarters of the way up the pot. Alternatively, you can position the pot inside a larger pot filled with hot water, creating a double-boiler effect to avoid direct heat. The goal is to gradually bring the milk to temperature.
- Slowly heat the milk to 86°F, being careful not to rush the process.
- Once the milk reaches 86°F, gently stir in the mesophilic starter culture. Maintain the milk at this temperature for one hour, removing the pot from the hot water to avoid overheating. It retains warmth fairly well but may need a gentle nudge if the temperature drops too much.
- Next, stir in 1/4 teaspoon of calcium chloride, ensuring it’s evenly distributed.
- If you’re using rennet tablets, crush half a tablet and dissolve it in 1/4 cup of cool water. If you’re using liquid rennet, you can skip this step and add the rennet directly to the milk. Stir the rennet into the milk gently for about a minute.
- Let the milk sit undisturbed for 30 minutes, keeping the temperature steady at 86°F. You may need to return the pot to the warm water bath briefly if it cools too much.
- Once the curd has formed, check for a clean break. Insert a clean finger about an inch into the curd and pull gently. If the curd separates cleanly, with a texture resembling firm yogurt, it’s ready. If not, allow it to sit for another 30 minutes.
- Using a long knife, cut the curd into 1-inch cubes by slicing straight down across the curd in one direction. Then, turn the pot and repeat the process to form a grid pattern. For a final cut, slice diagonally through the curd to create roughly 1-inch chunks.
- Gently stir the curds, then return the pot to the sink or the larger pot of warm water. Gradually raise the temperature to 95°F over the course of an hour. The curds will shrink slightly as they release more whey, the yellowish liquid separating from the solid curds. Be cautious not to exceed 106°F.
- Line a colander with butter muslin or several layers of cheesecloth and carefully pour in the curds and whey. Bring the corners of the muslin together, tying it securely to allow for proper drainage. Let it drain for about 4 hours at room temperature.
- Once drained, untie the muslin, and you’ll find that the curd mass has solidified. Cut it into rough blocks, approximately 3 inches wide, and let them drain in the muslin for another 30 minutes.
- Prepare a brine solution by dissolving 1 to 1 1/4 pounds of kosher salt (or non-iodized salt) in 2 quarts of water. Add the salt gradually, stopping when no more salt dissolves in the water. Mix in 1 teaspoon of calcium chloride and 2 1/2 teaspoons of vinegar.
- Remove the feta blocks from the muslin and submerge them in the brine. Let them soak for 10 to 12 hours, but avoid exceeding this time frame as it may lead to overly salty cheese.
- After brining, remove the feta and allow it to air dry at room temperature for one to two days, uncovered.
- Once fully dried, store the feta in covered containers. Keep it refrigerated or in a cool area like a cellar or garage. For best results, consume within one to two weeks. Enjoy your homemade feta!

