

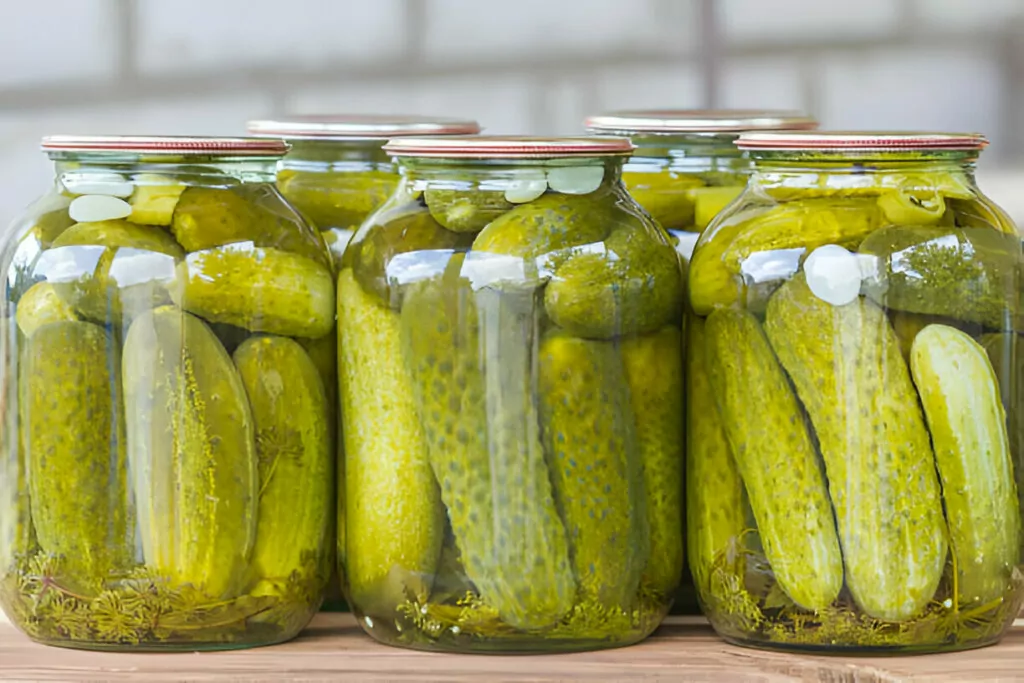
Homemade dill pickles offer the perfect balance of crunch, tang, and bold seasoning, making them a must-have addition to sandwiches, burgers, or even as a snack straight from the jar. This recipe brings out the best in fresh cucumbers, infusing them with aromatic garlic, fragrant dill, and a brine that strikes just the right balance between salty and slightly sweet. Unlike store-bought versions, homemade pickles allow for complete control over flavor intensity, ensuring a fresher and more vibrant result.
Ingredients Overview
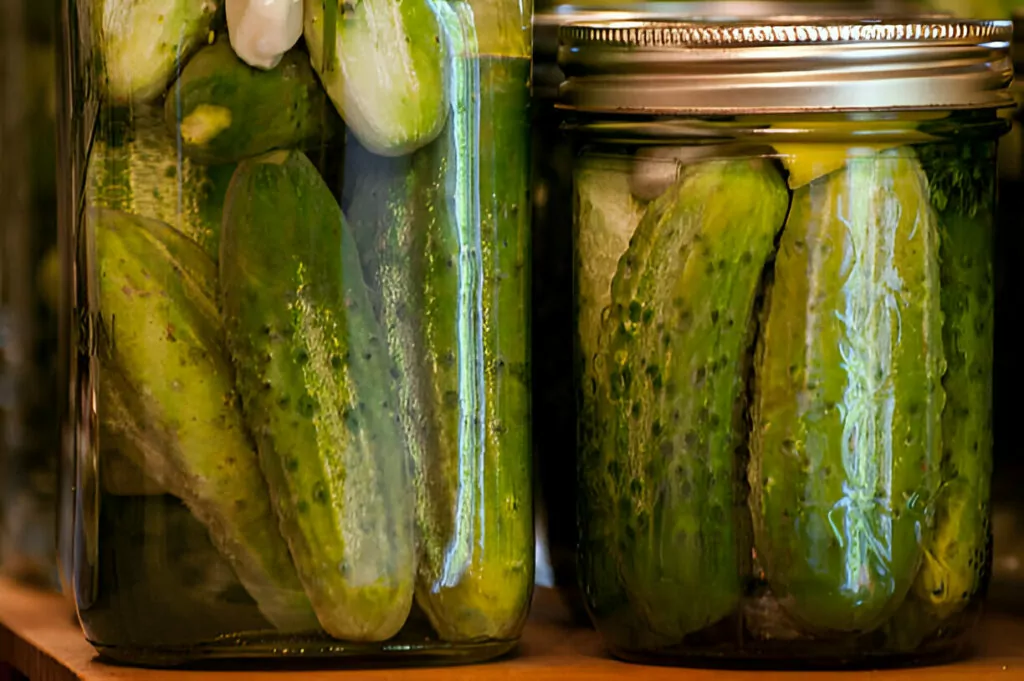
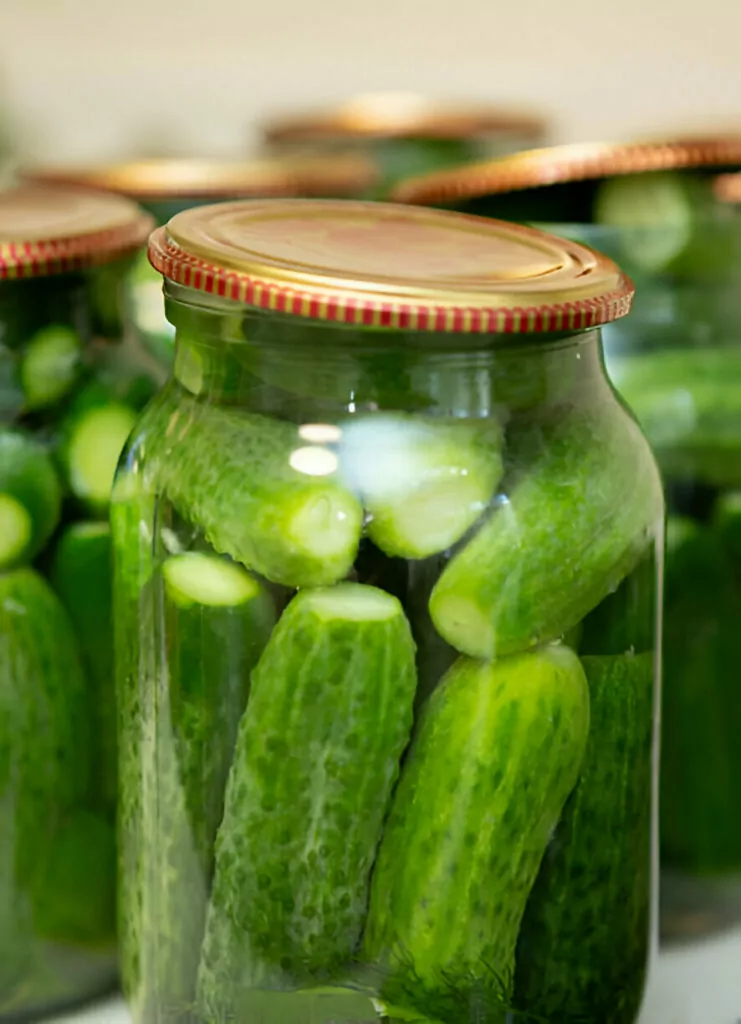
The key to exceptional homemade pickles starts with selecting small pickling cucumbers. These varieties, often called Kirby or gherkin cucumbers, have firm flesh and minimal seeds, making them ideal for pickling. Using larger cucumbers can result in softer pickles, which lack the signature crispness.
Fresh dill plays a crucial role in defining the classic dill pickle flavor. The feathery green herb infuses the brine with a grassy, slightly citrusy aroma that complements the tang of vinegar. Using fresh dill heads rather than dried ensures the most robust flavor.
Garlic, vinegar, and pickling salt work together to create the brine, which is the heart of the pickling process. Distilled white vinegar provides a sharp acidity that preserves the cucumbers and enhances their tanginess. Pickling salt, which is free from additives and anti-caking agents, dissolves cleanly into the brine, ensuring a pure, bright taste. White sugar is included in small amounts to balance the sharpness of the vinegar without making the pickles sweet.
Pickling spice, wrapped in cheesecloth, introduces layers of complexity. This blend typically includes mustard seeds, coriander, bay leaves, cloves, and peppercorns, lending subtle warmth and depth to the pickles. Allowing the brine to simmer with the spices before use ensures that the flavors meld seamlessly.
Step-by-Step Preparation
To achieve crisp and flavorful pickles, each step in the process plays a vital role in developing texture and taste.
Soaking cucumbers in ice water for at least two hours (and up to eight) helps maintain their crunch. The cold temperature firms up the flesh and prevents softening during the pickling process. Draining the cucumbers thoroughly and patting them dry before packing them into jars ensures they absorb the brine effectively.
Simmering the pickling brine is essential for infusing depth into the pickles. Combining vinegar, water, sugar, salt, and the spice-filled cheesecloth bundle in a saucepan and bringing it to a rolling boil allows the flavors to blend. Letting the mixture simmer gently for 15 minutes deepens the flavor, ensuring that the brine fully absorbs the essence of the pickling spices.
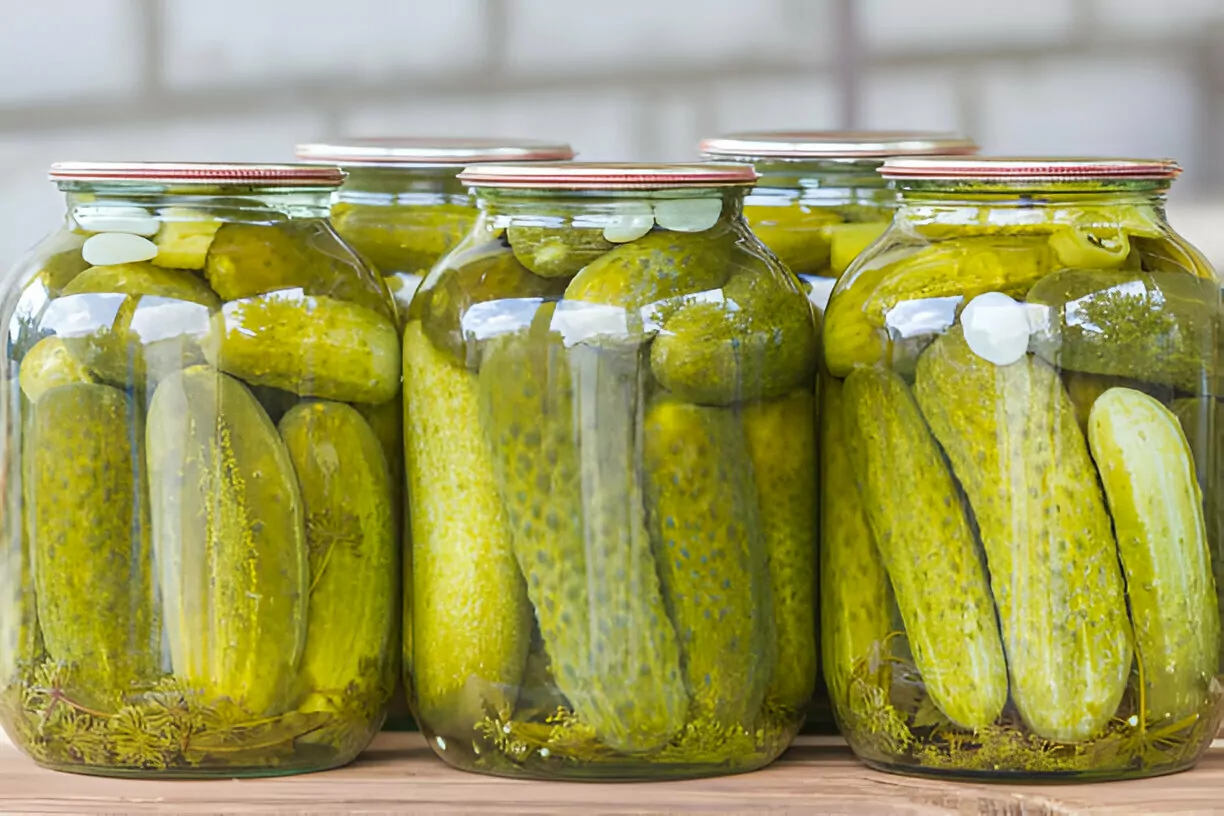
Properly sterilizing and packing the jars is crucial for long-term preservation. Boiling canning jars and lids for at least five minutes eliminates bacteria and ensures a safe, airtight seal. When filling the jars, packing cucumbers tightly but leaving space near the top allows the brine to flow between them while preventing overcrowding. Each jar should include one head of fresh dill and one garlic clove before being topped with the hot brine. Wiping the jar rims with a moist paper towel ensures a clean seal before securing the lids.
Processing the pickles using a water bath canning method preserves them for extended storage. Placing a canning rack in a stockpot, filling it halfway with water, and bringing it to a rolling boil prepares the environment for sealing. Carefully lowering the jars into the pot, ensuring at least a 2-inch space between them, allows for proper circulation. Covering the pot and boiling the jars for five minutes creates an airtight seal that locks in flavor.
Once removed from the stockpot, jars should be placed on a cloth-covered surface with space between them to cool naturally. After cooling, testing the lid by pressing the center ensures a successful seal—there should be no movement. If any jars fail to seal properly, they should be stored in the refrigerator and consumed within two weeks.
Recipe Tips & Frequently Asked Questions
How to select the best cucumbers for pickling:
Choose firm, unblemished, small cucumbers with thin skin for the best results.
Adjusting sugar and salt levels for a more personalized taste:
Slightly increasing or decreasing these ingredients allows for a tangier or milder brine.
Using whole vs. sliced cucumbers and how it affects texture:
Whole cucumbers stay crunchier for longer, while sliced cucumbers absorb flavors more quickly.
Can I use table salt instead of pickling salt?
It’s not recommended, as table salt contains additives that can make the brine cloudy.
How long do homemade pickles last?
Properly sealed jars can last up to one year in a cool, dark place.
Why do my pickles turn mushy?
This can result from overripe cucumbers, skipping the ice water soak, or using a low-quality vinegar.
Can I reuse the brine for another batch?
It’s best to make fresh brine, as the acidity weakens after use.
What to Serve With This Recipe
Dill pickles are a classic addition to sandwiches, burgers, and wraps, adding a satisfying crunch and tangy contrast. Their acidity pairs exceptionally well with grilled meats, cutting through the richness of beef, pork, or even barbecued chicken.
For a creative twist, chopped pickles can be incorporated into salads, egg salads, or potato salads, infusing them with a bright, briny kick. Pickles also work well on a charcuterie board, balancing the flavors of cured meats and cheeses with their sharpness.
Beyond the pickles themselves, the leftover brine is a secret weapon. It can be whisked into salad dressings, used as a marinade for meats, or even added to cocktails like a pickle martini or Bloody Mary.
Storage and Shelf Life
Proper storage ensures that pickles retain their crunch and flavor for an extended period. Sealed jars should be kept in a cool, dark place, such as a pantry or cellar, to maintain freshness. Allowing the pickles to sit for at least one week before opening lets the flavors fully develop.
Once opened, jars should be stored in the refrigerator and used within a few months for the best taste. If a jar remains unopened, it can be stored for up to one year, provided it was sealed correctly.
Making homemade dill pickles is a simple yet rewarding process that yields superior flavor and texture compared to store-bought varieties. With crisp cucumbers, aromatic spices, and a perfectly balanced brine, these pickles are a must-have in any kitchen. Whether enjoyed straight from the jar, added to sandwiches, or used in unexpected ways, they bring a bright, tangy crunch to any dish. Experimenting with different spices and variations allows for endless customization, making each batch uniquely delicious.
Ingredients
7 1-quart canning jars with lids and rings
8 pounds small pickling cucumbers
7 heads fresh dill
7 cloves garlic
4 cups distilled white vinegar
4 cups water
¾ cup white sugar
½ cup pickling salt
3 tablespoons pickling spice, wrapped in cheesecloth
Instructions
Fill a large pot with the pickling cucumbers and cover them with ice cubes. Allow them to sit for at least 2 hours, or up to 8 hours, to enhance their crispness. Once the time has elapsed, drain the cucumbers thoroughly and pat them dry with a clean towel.
In a large saucepan, combine water, distilled vinegar, sugar, pickling salt, and the pickling spice wrapped in cheesecloth. Bring the mixture to a rolling boil, then reduce the heat and let it simmer gently for 15 minutes, allowing the flavors to infuse.
Meanwhile, sterilize the canning jars and their lids by submerging them in boiling water for at least 5 minutes. Once sanitized, carefully pack the cucumbers into the hot jars, ensuring they reach about ½ inch from the top. Place one head of fresh dill and one clove of garlic into each jar.
Pour the hot pickling liquid into each jar, filling them up to ¼ inch from the rim. Wipe the rims with a damp paper towel to remove any residue. Secure the lids and screw the rings on firmly, ensuring a tight seal.
Position a canning rack at the bottom of a large stockpot and fill it halfway with water. Bring the water to a boil over high heat, then carefully lower the filled jars into the pot, ensuring a 2-inch gap between them. If needed, add more boiling water until it rises at least 1 inch above the jar tops. Bring the water back to a vigorous boil, cover the pot, and process the jars for 5 minutes.
Using a jar lifter, carefully remove the processed jars and place them on a cloth-covered or wooden surface, ensuring they are spaced a few inches apart. Allow them to cool completely. Once cooled, press the center of each lid—if properly sealed, the lid should not flex up or down. If any jars have not sealed correctly, refrigerate them and consume within two weeks.
Store the sealed jars in a cool, dark location for optimal preservation. For the best flavor, let the pickles develop for at least one week before opening.
Dill Pickles Recipe
Ingredients
- 7 1- quart canning jars with lids and rings
- 8 pounds small pickling cucumbers
- 7 heads fresh dill
- 7 cloves garlic
- 4 cups distilled white vinegar
- 4 cups water
- ¾ cup white sugar
- ½ cup pickling salt
- 3 tablespoons pickling spice wrapped in cheesecloth
Instructions
- Fill a large pot with the pickling cucumbers and cover them with ice cubes. Allow them to sit for at least 2 hours, or up to 8 hours, to enhance their crispness. Once the time has elapsed, drain the cucumbers thoroughly and pat them dry with a clean towel.
- In a large saucepan, combine water, distilled vinegar, sugar, pickling salt, and the pickling spice wrapped in cheesecloth. Bring the mixture to a rolling boil, then reduce the heat and let it simmer gently for 15 minutes, allowing the flavors to infuse.
- Meanwhile, sterilize the canning jars and their lids by submerging them in boiling water for at least 5 minutes. Once sanitized, carefully pack the cucumbers into the hot jars, ensuring they reach about ½ inch from the top. Place one head of fresh dill and one clove of garlic into each jar.
- Pour the hot pickling liquid into each jar, filling them up to ¼ inch from the rim. Wipe the rims with a damp paper towel to remove any residue. Secure the lids and screw the rings on firmly, ensuring a tight seal.
- Position a canning rack at the bottom of a large stockpot and fill it halfway with water. Bring the water to a boil over high heat, then carefully lower the filled jars into the pot, ensuring a 2-inch gap between them. If needed, add more boiling water until it rises at least 1 inch above the jar tops. Bring the water back to a vigorous boil, cover the pot, and process the jars for 5 minutes.
- Using a jar lifter, carefully remove the processed jars and place them on a cloth-covered or wooden surface, ensuring they are spaced a few inches apart. Allow them to cool completely. Once cooled, press the center of each lid—if properly sealed, the lid should not flex up or down. If any jars have not sealed correctly, refrigerate them and consume within two weeks.
- Store the sealed jars in a cool, dark location for optimal preservation. For the best flavor, let the pickles develop for at least one week before opening.
