

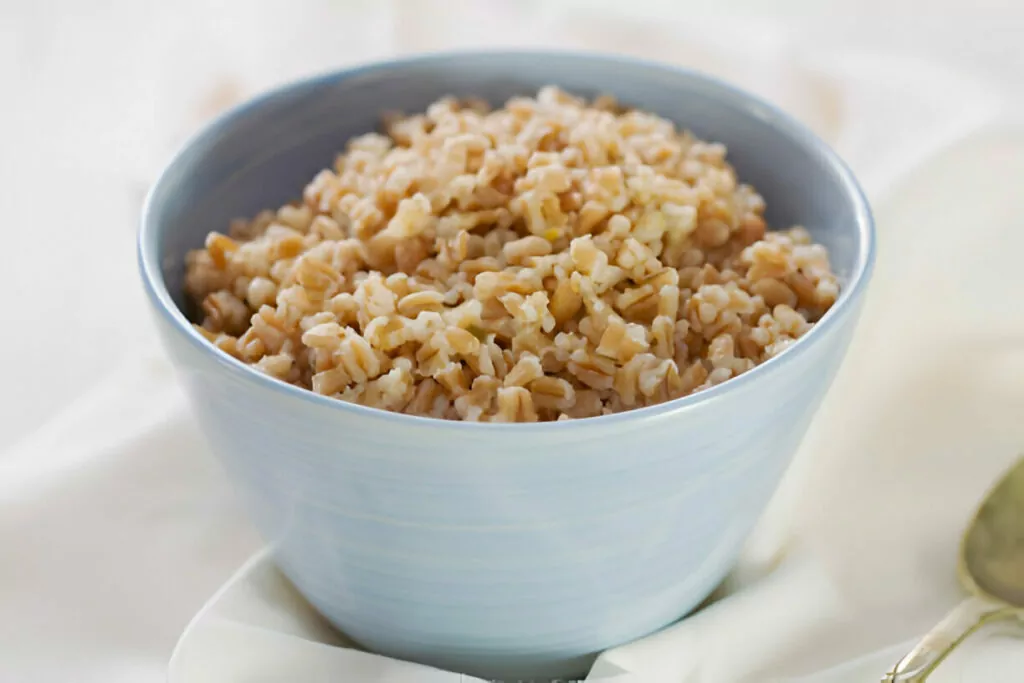
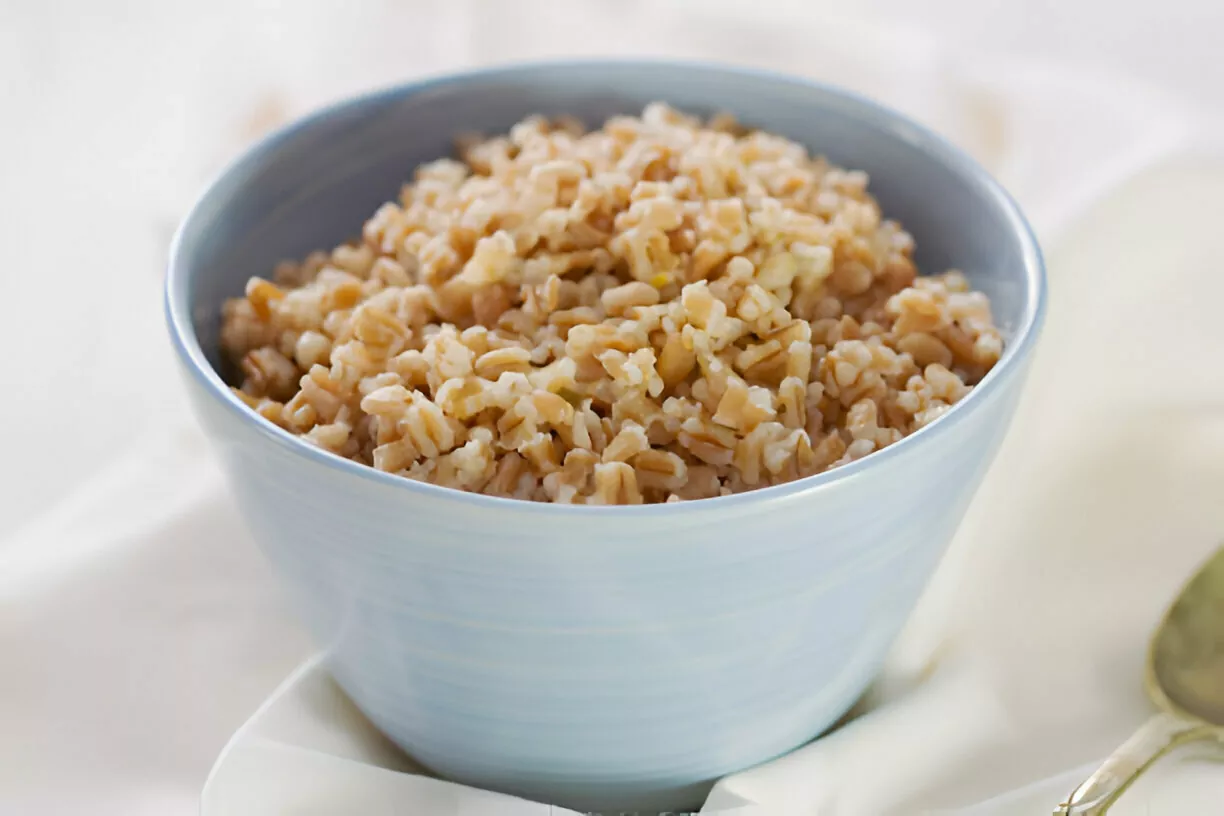
Brown rice is a pantry staple that brings both nutrition and depth of flavor to countless meals. While cooking it on the stovetop can be time-consuming and inconsistent, the Instant Pot offers a foolproof method to achieve perfectly tender grains with minimal effort. This hands-off approach ensures a consistent texture, eliminating the guesswork and frequent stirring. Whether used as a wholesome base for stir-fries, grain bowls, or side dishes, brown rice is a versatile ingredient that complements a wide range of flavors and cuisines.
Ingredients Breakdown
Selecting the right type of brown rice is crucial for the best results. Long-grain varieties like brown jasmine or brown basmati yield light, separate grains with a slightly nutty aroma, while short-grain brown rice tends to be more starchy and sticky, ideal for dishes that require a creamier consistency.
The water-to-rice ratio is another key factor. Unlike white rice, which requires less water, brown rice absorbs more moisture due to its intact bran layer. A 2 ½ to 1 water-to-rice ratio ensures the grains cook thoroughly without becoming overly soft or dry.
Kosher salt plays an essential role in subtly enhancing the natural, earthy flavors of brown rice. A small amount of salt balances the taste without overpowering it, making the final dish more well-rounded and satisfying.
Step-by-Step Cooking Instructions
Start by adding the brown rice, water, and salt to the inner pot of the Instant Pot. Some prefer to rinse the rice beforehand to remove excess starch, resulting in fluffier grains. However, skipping this step can lead to a slightly stickier texture, which is beneficial for certain dishes.
Once the ingredients are combined, secure the Instant Pot lid and set the valve to the sealing position. Select HIGH pressure (manual mode) and set the timer for 22 minutes. The pressurization phase will take a few minutes before the countdown begins.
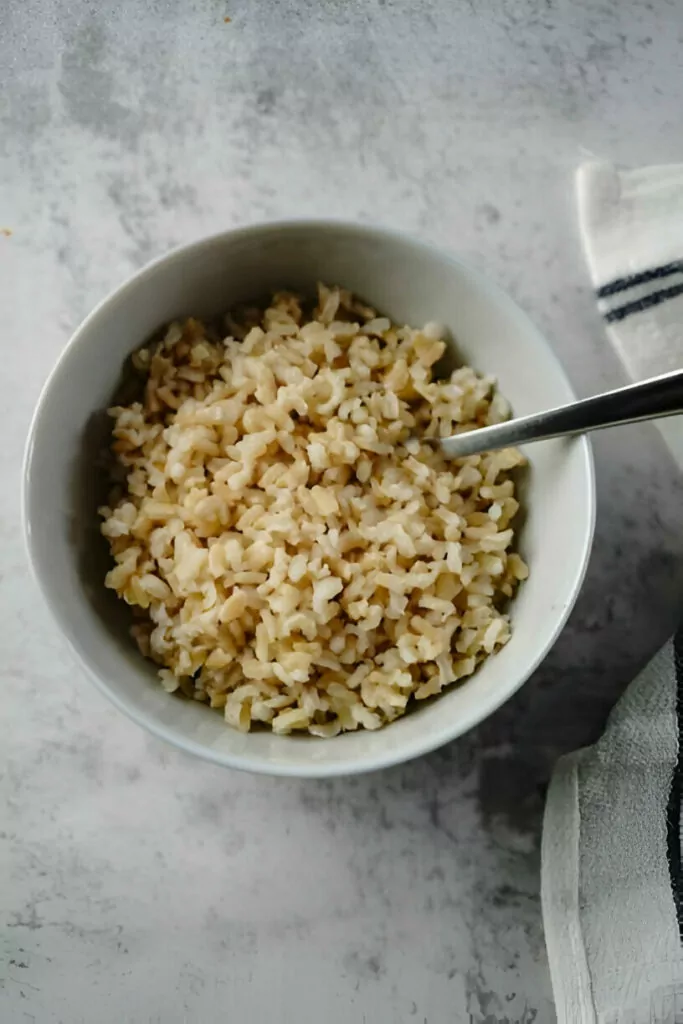
After the cooking cycle is complete, allow the pressure to release naturally for at least 15 minutes. This gradual release prevents excessive moisture loss, keeping the rice tender and evenly cooked. Once the safety pin drops, carefully remove the lid and fluff the rice with a fork to separate the grains gently. Serve immediately or store for later use.

Recipe Tips & Frequently Asked Questions
Best practices for rinsing (or skipping rinsing) the rice:
Rinsing reduces surface starch for fluffier rice, but omitting it yields a slightly stickier consistency.
Adjusting the cooking time for slightly different textures:
For firmer rice, reduce the cooking time by 1–2 minutes; for softer rice, extend it by 2–3 minutes.
Storage tips for leftovers and reheating methods:
Refrigerate cooked rice in an airtight container for up to 5 days; reheat with a splash of water in the microwave or on the stovetop to restore moisture.
What types of brown rice can be used?
Any variety of long-grain or short-grain brown rice works, including jasmine and basmati, but avoid instant or parboiled brown rice.
Can you double the recipe?
Yes, maintain the same water-to-rice ratio and cooking time; the Instant Pot will adjust automatically for the increased volume.
How to prevent the rice from becoming too mushy or dry?
Ensure the correct water ratio, and avoid stirring before cooking to prevent excess starch release.
What to Serve With This Recipe
Brown rice pairs beautifully with a variety of proteins, vegetables, and sauces. Serve it alongside grilled chicken, roasted vegetables, or sautéed shrimp for a wholesome meal. It also makes an excellent base for grain bowls, incorporating fresh greens, beans, and flavorful dressings. For added complexity, stir in fresh herbs like cilantro, parsley, or scallions before serving to enhance the dish with a pop of freshness.
Variations and Customizations
Infuse extra flavor by sautéing garlic or onions in the Instant Pot before adding the rice and water. For a richer taste, substitute part of the water with vegetable broth or coconut milk. To keep the recipe vegan or gluten-free, simply ensure that any added seasonings or broths comply with dietary preferences. Brown rice is an adaptable staple that can be modified to complement a variety of cuisines and personal tastes.
The Instant Pot transforms brown rice into a perfectly cooked, effortlessly prepared staple that can be used in countless dishes. This method delivers consistent, fluffy grains with minimal effort, making it an invaluable addition to any kitchen routine. Whether served as a simple side dish, a hearty base for a meal, or part of a meal-prep strategy, Instant Pot brown rice is a reliable and versatile recipe worth mastering.
Ingredients
2 ½ cups water
¼ teaspoon kosher salt
2 cups long-grain or short-grain brown rice* (brown jasmine and brown basmati rice are also suitable; avoid white rice or instant rice, as they will become mushy)
Instructions
In the Instant Pot’s inner pot, combine the brown rice, water, and salt. If you prefer less starchy grains, rinse the rice in a fine-mesh strainer before adding it. However, skipping the rinse will result in a slightly stickier texture.
Secure the lid and set the Instant Pot to HIGH pressure (manual mode) for 22 minutes. Once the cooking cycle is complete, allow the pressure to release naturally for at least 15 minutes, or until the safety pin drops on its own.
Carefully remove the lid, being mindful of any remaining steam. Use a fork to fluff the rice, separating the grains gently. Serve immediately and enjoy.
Instant Pot Brown Rice Recipe
Ingredients
- 2 ½ cups water
- ¼ teaspoon kosher salt
- 2 cups long-grain or short-grain brown rice* brown jasmine and brown basmati rice are also suitable; avoid white rice or instant rice, as they will become mushy
Instructions
- In the Instant Pot’s inner pot, combine the brown rice, water, and salt. If you prefer less starchy grains, rinse the rice in a fine-mesh strainer before adding it. However, skipping the rinse will result in a slightly stickier texture.
- Secure the lid and set the Instant Pot to HIGH pressure (manual mode) for 22 minutes. Once the cooking cycle is complete, allow the pressure to release naturally for at least 15 minutes, or until the safety pin drops on its own.
- Carefully remove the lid, being mindful of any remaining steam. Use a fork to fluff the rice, separating the grains gently. Serve immediately and enjoy.
Notes
- Optimal Cooking Quantity: In a 6-quart Instant Pot, 2 cups of rice cook the most evenly. However, using as little as 1 cup still yields decent results. To make a smaller batch, simply divide the recipe in half.
- Storage: Keep cooked rice in an airtight container in the refrigerator for up to 4 days to maintain freshness.
- Reheating: Warm leftovers on the stovetop over medium-low heat or use the microwave for a quick and convenient option.
- Freezing: Spread the rice on a baking sheet and freeze until solid. Once frozen, transfer it to an airtight, freezer-safe container and store for up to 3 months. When ready to use, thaw overnight in the refrigerator before reheating.
