

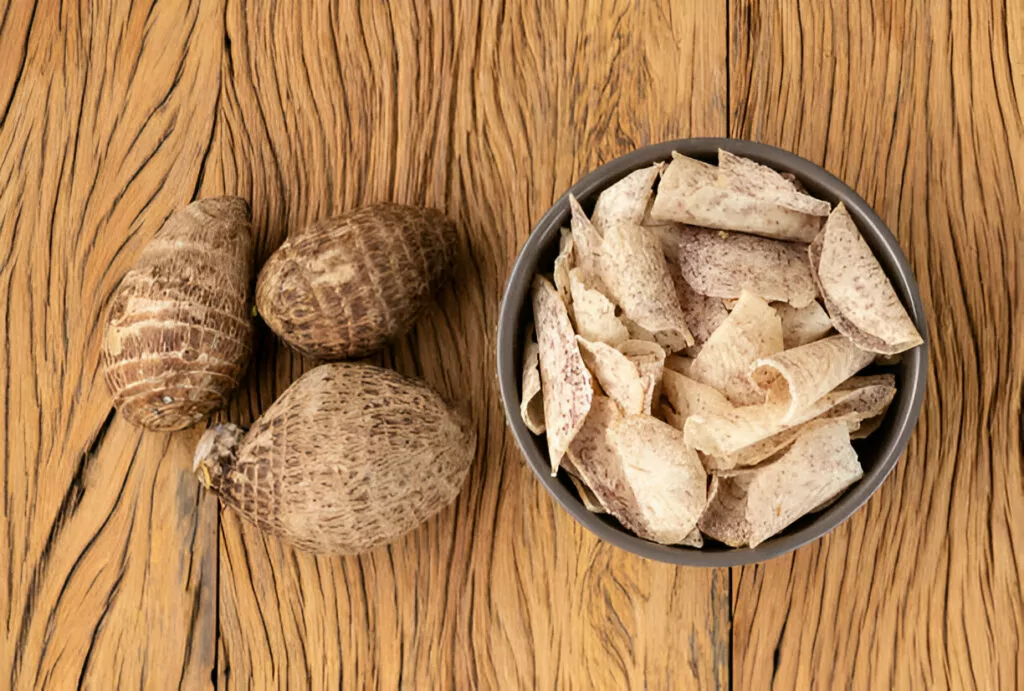
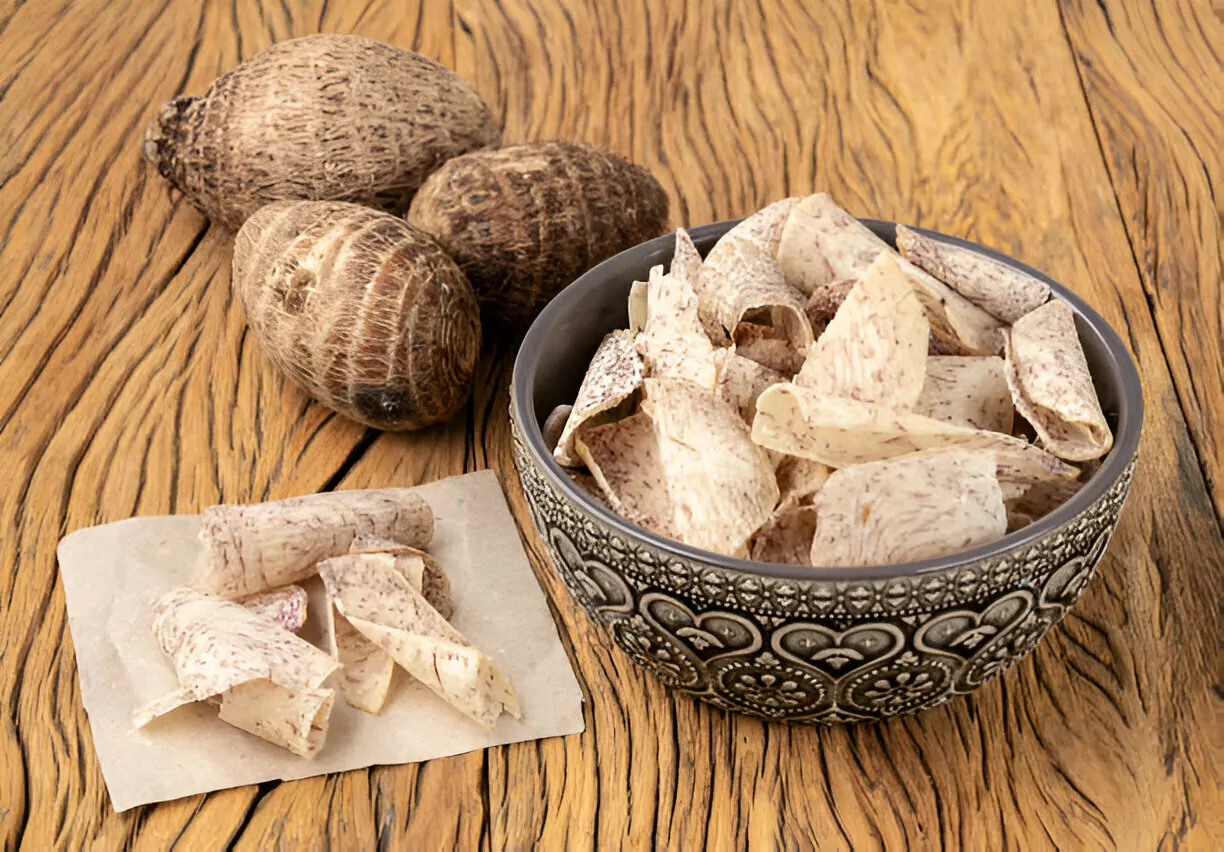
Taro chips offer a satisfying crunch with a slightly nutty and earthy flavor, making them an excellent alternative to traditional potato chips. Their crispy texture and subtle sweetness pair beautifully with a variety of seasonings, making them perfect for snacking or serving alongside dips and meals. With minimal ingredients and a simple baking method, these chips provide a healthier, homemade option that is easy to customize.

Ingredient Breakdown
Choosing the right taro is essential for achieving the perfect chip texture. Look for firm, unblemished taro roots with smooth skin, as these will be easier to peel and slice. The ripeness of the taro also affects the final texture—mature taro provides a crispier bite, while younger taro may result in a softer chip. A light coating of olive oil enhances crispiness while preventing the chips from becoming overly greasy. Opting for a high-quality extra virgin olive oil can add a subtle richness to the flavor. The choice of salt plays an important role in balancing the flavors. Kosher salt provides a clean, bright taste, while Hawaiian salt introduces a hint of natural minerals that deepen the flavor profile. Lightly seasoning the chips before and after baking ensures an even distribution of taste, making every bite perfectly seasoned.
Step-by-Step Preparation Guide
Prepping the taro starts with peeling its rough outer skin. A sharp vegetable peeler or paring knife works best for removing the skin without wasting too much of the flesh. Once peeled, the taro should be rinsed and dried to remove any excess starch.
Slicing for consistency is crucial for even baking. A mandolin slicer is the best tool for achieving ultra-thin, uniform slices, ensuring that all chips cook at the same rate. If using a knife, careful, steady cuts are necessary to maintain a similar thickness.
Coating with oil should be done lightly to avoid sogginess. Brushing each slice evenly ensures a crisp texture while allowing the natural flavors of the taro to shine. Too much oil can result in uneven baking and an overly greasy chip.
Baking to perfection requires the right temperature and timing. A 400°F (200°C) oven provides the optimal heat level for crisping without burning. Keeping an eye on the chips during the final minutes of baking prevents over-browning and ensures they come out golden and crisp.
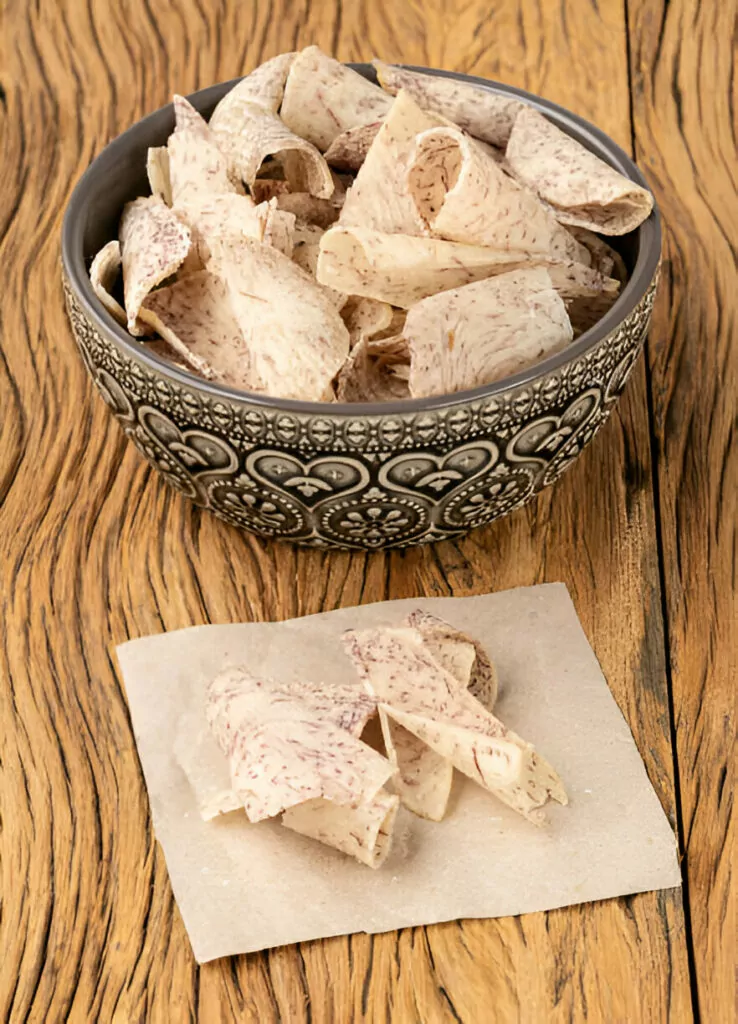
Final touches like seasoning immediately after baking enhance the chips’ flavor while they’re still warm. A final sprinkle of salt or a custom spice blend adds depth and personality to the chips, making them even more irresistible.
Recipe Tips & Frequently Asked Questions
How to prevent the taro from browning before baking:
Keep the sliced taro in cold water before brushing with oil to prevent oxidation.
Tips for getting perfectly crisp chips without overbaking:
Ensure thin, even slices and avoid overcrowding the baking sheet.
The best way to slice taro safely when using a mandolin:
Use a protective glove to prevent accidental cuts.
Can I fry the taro chips instead of baking them?
Yes, frying results in a richer flavor and extra crunch.
How do I keep taro chips crispy for longer?
Store in an airtight container with a paper towel to absorb excess moisture.
Can I use different oils instead of olive oil?
Yes, avocado oil or coconut oil can add unique flavors.
What’s the best way to store leftover taro chips?
Keep them in a sealed container at room temperature for up to a week.
What to Serve With This Recipe
Dipping sauces enhance the experience of taro chips. Pairing them with guacamole, hummus, or a tangy aioli brings out their natural earthiness. For a heartier snack, serve them alongside grilled meats or seafood dishes with tropical flavors. Incorporating them into a snack board with cheese, fruit, and nuts creates a visually appealing and flavorful platter.
Customization Ideas
For a spicy kick, adding chili powder or smoked paprika brings warmth and depth. A sweet variation can be made by dusting the chips with cinnamon and coconut sugar for a unique contrast. Herb-infused options, such as rosemary, thyme, or garlic powder, provide an aromatic touch that complements the natural starchiness of taro.
Taro chips are an irresistible snack that combines crunch, flavor, and versatility. Whether kept simple or enhanced with bold seasonings, they are an excellent homemade alternative to store-bought chips. Their ease of preparation and ability to pair with countless dips and meals make them a must-try for anyone who loves a crunchy, flavorful treat. Enjoy them fresh for the best texture and taste!
Ingredients
1 lb taro, peeled
Olive oil, for brushing
Kosher or Hawaiian salt, to taste
Instructions
If using a mandolin, adjust it to the lowest setting (1 or 2) to achieve thin, even slices of taro. Carefully slice the taro lengthwise, ensuring consistency for uniform baking. For smaller pieces that are difficult to handle with a mandolin, use a sharp knife to slice them as evenly as possible.
Arrange the taro slices in a single layer on baking sheets lined with parchment paper. Lightly brush each slice with olive oil, ensuring a thin, even coating to promote crispness.
Preheat the oven to 400°F (200°C). Bake the taro chips for approximately 20 minutes or until the edges become golden and crisp. Keep an eye on them during the final minutes of baking to prevent burning.
Once out of the oven, sprinkle the chips with salt while still warm, adjusting the seasoning to taste. Serve immediately for maximum crunch, or allow them to cool completely before storing in an airtight container.
Taro Chips Recipe
Ingredients
- 1 lb taro peeled
- Olive oil for brushing
- Kosher or Hawaiian salt to taste
Instructions
- If using a mandolin, adjust it to the lowest setting (1 or 2) to achieve thin, even slices of taro. Carefully slice the taro lengthwise, ensuring consistency for uniform baking. For smaller pieces that are difficult to handle with a mandolin, use a sharp knife to slice them as evenly as possible.
- Arrange the taro slices in a single layer on baking sheets lined with parchment paper. Lightly brush each slice with olive oil, ensuring a thin, even coating to promote crispness.
- Preheat the oven to 400°F (200°C). Bake the taro chips for approximately 20 minutes or until the edges become golden and crisp. Keep an eye on them during the final minutes of baking to prevent burning.
- Once out of the oven, sprinkle the chips with salt while still warm, adjusting the seasoning to taste. Serve immediately for maximum crunch, or allow them to cool completely before storing in an airtight container.
