Guava Jam Recipe
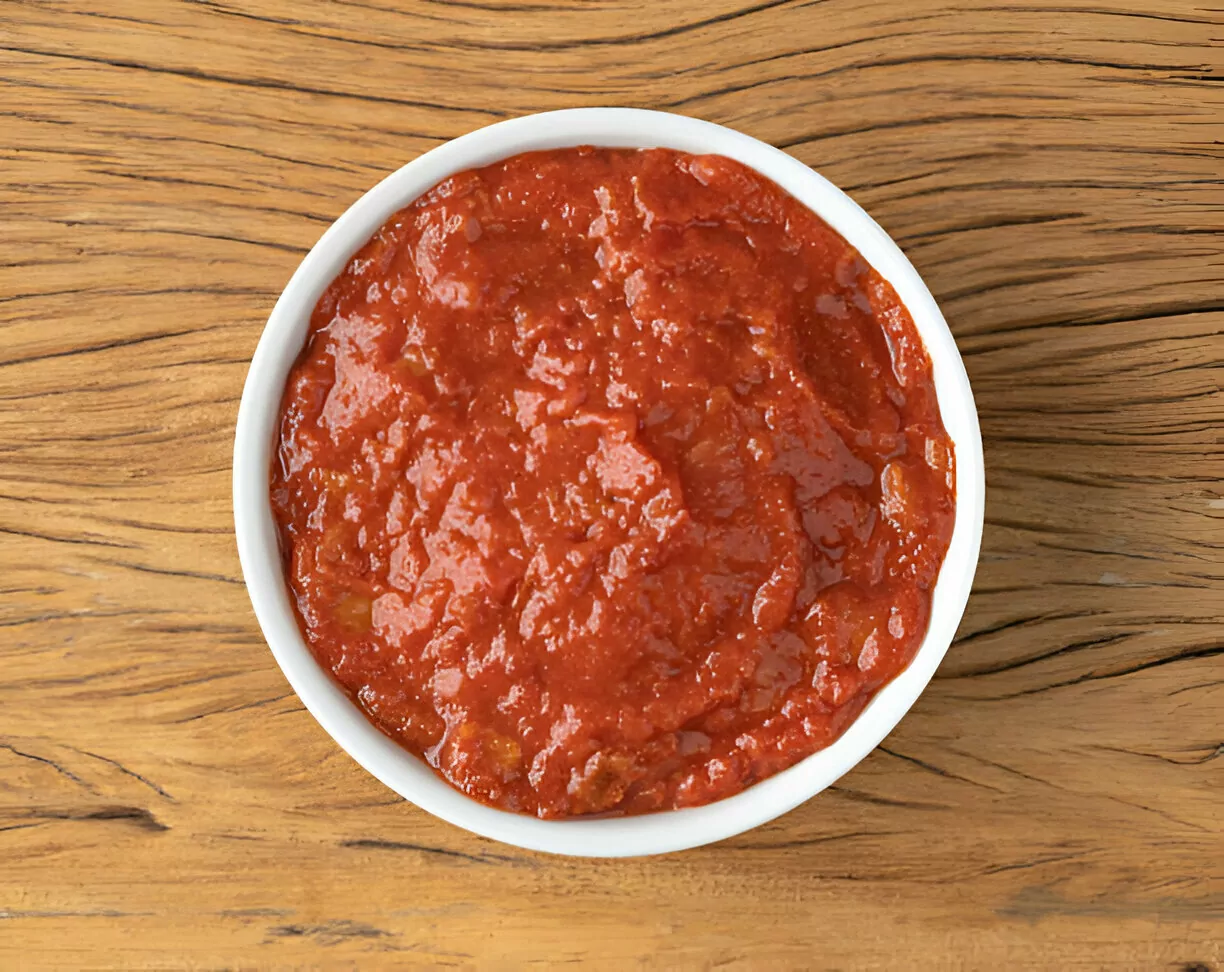
This homemade guava jam bursts with tropical sweetness and a hint of floral aroma, creating the perfect balance of smooth and fruity goodness. Spread it on toast, pair it with pastries, or enjoy it as a vibrant addition to your favorite dishes.
Print
Pin
Servings: 4 half-pint (8 oz) jars
Calories: 60kcal
Ingredients
- 1 cup sugar for every 2 cups of fruit
- 8-10 guavas pink "strawberry" guavas or yellow guavas work well
- ½ teaspoon vanilla bean paste or 1 vanilla bean split and seeds scraped (optional)
- 1 tablespoon liquid pectin per cup of fruit
Instructions
- Before you begin making the jam, thoroughly wash the canning jars and lids with hot, soapy water. Use Ball or Kerr canning jars for best results. Ensure that the lids and seals are brand new, as previously used lids cannot safely be reused for water-bath canning. Jars do not require sterilization if they will be processed in a boiling water bath for at least 10 minutes or in a pressure canner.
Prepare the Guavas
- Start by peeling the guavas with a sharp vegetable peeler. Slice them in half crosswise, then use a spoon or melon baller to scoop out and remove the seeds. Set the seeds and pulp aside for making a simple syrup if desired.
- Chop the guava flesh into chunks and transfer them to a food processor. Pulse a few times until the desired consistency is reached. For a smooth jam, process the fruit until completely pureed, but for a textured result, leave some small chunks.
- Measure the guava puree using a glass measuring cup, then determine the amount of sugar needed. The ratio should be 1 cup of sugar for every 2 cups of guava puree. For example, if you have 4 cups of guava puree, use 2 cups of sugar.
Prepare the Canning Pot
- Place a canning rack in the bottom of a deep stock pot or water bath canner. Fill the pot with enough hot water to submerge the jars by at least 2 inches. Cover and heat the water to a boil while preparing the jam.
Cooking the Guava Jam
- In a large, non-reactive saucepan, combine the guava puree and measured sugar. Heat over medium-high, stirring frequently, until the mixture reaches a boil. Add 1 tablespoon of liquid pectin per cup of fruit and continue boiling gently for 10 to 20 minutes, stirring regularly. The jam is ready when it thickens and clings to a spoon.
- If skipping the water-bath canning process, simply transfer the hot jam into a clean, airtight container and store it in the refrigerator. This fresh jam will stay good for up to two weeks.
Filling the Jars
- Position a canning funnel over each prepared jar and carefully ladle the hot guava jam into the jars, leaving about ½ inch of headspace. Wipe the rims clean, then place a new flat lid over each jar and screw the band on just until fingertip-tight.
- Using canning tongs, gently lower the jars into the simmering water in the canning pot, ensuring they are fully submerged. Bring the water to a full boil and process the jars for 10 minutes. Once the time is up, turn off the heat and let the jars sit in the water for another 5 minutes.
- Carefully remove the jars with the tongs and place them on a clean kitchen towel to prevent sudden temperature changes that could cause breakage. Within a few minutes, you should hear a soft “pop” sound, indicating that the jars have sealed properly.
- Let the jars cool completely at room temperature, allowing them to rest undisturbed overnight. The next day, tighten the screw bands if needed and store the sealed jars in a cool, dark place. Properly processed guava jam can be stored for up to a year.
Notes
Unprocessed jam stays fresh in the refrigerator for up to two weeks. Properly canned jam can be stored in the pantry for up to a year and remains good for six months once opened. A single serving is 2 tablespoons.
Nutrition
Calories: 60kcal